
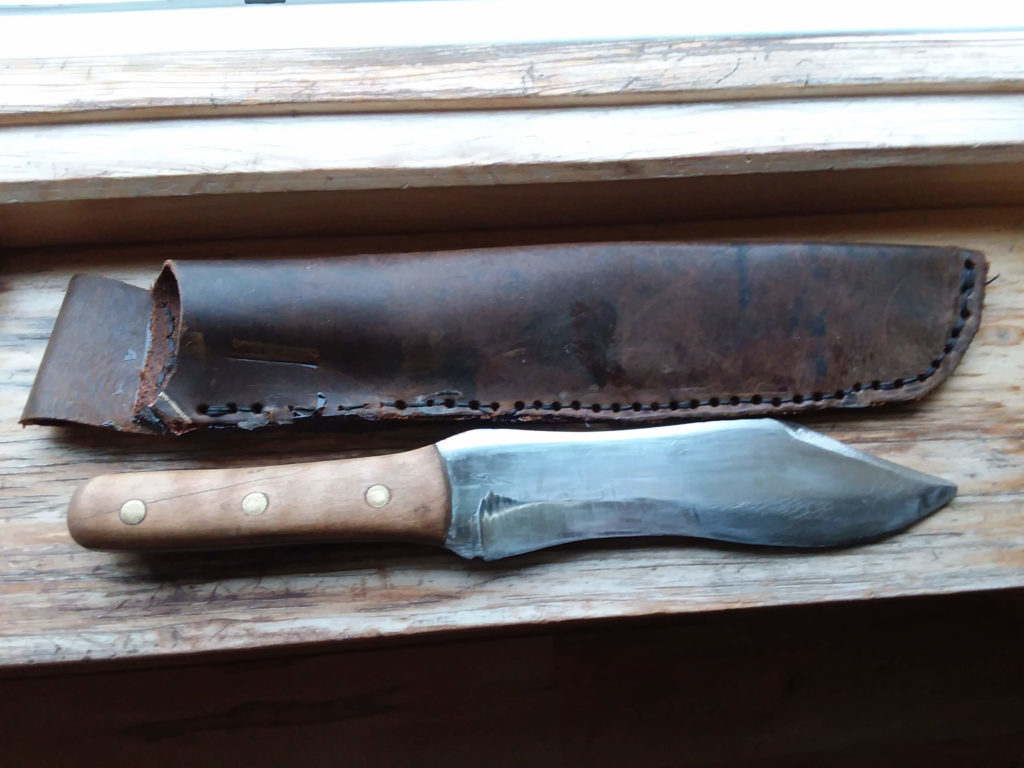
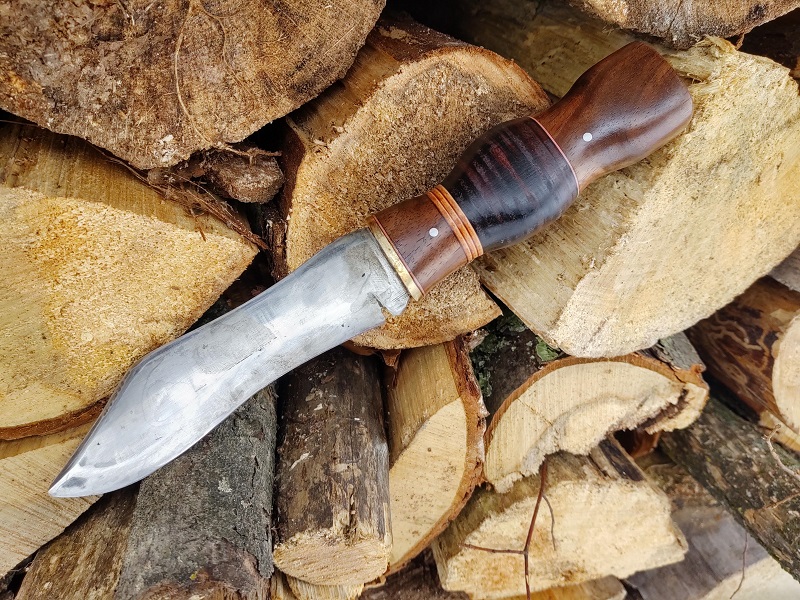
The Knife that has been remade
The Knife that has been remade – Lots of Mistakes and really could have been earlier in the lineup, but it has actually been in and out of the lineup, so to speak. I’m trying to keep this line up to pieces that came out successfully or at least close with a strong learning experience. This knife definitely qualifies in the “strong learning” category.
This Knife “The Knife that has been remade” certainly helped with my knife making education. I made a lot of mistakes and most of this Knife is a transition of those mistakes from trial and error and fix this and try that.
The first mistake has to do with the thickness. When I started making this knife, it was meant as a throwing knife. Kind of a remake of the knives I made when I was young. I obviously knew nothing about throwing knives then or at this time.
I didn’t do any research on how thick the knife should be. Now, when I start to design a knife, I research what the traditional thickness is for the style of knife I’m going to make. You’ll obviously find a lot of variations, but you’ll want to define a reason for yourself if you’re hitting the outer edge of the extreme or beyond. With your parameters.
My next mistake was not stopping to redesign. I just kept grinding. I was grinding with an angle grinder (I hadn’t built the belt grinder or the stand for my belt sander yet) and I was designing on the fly.
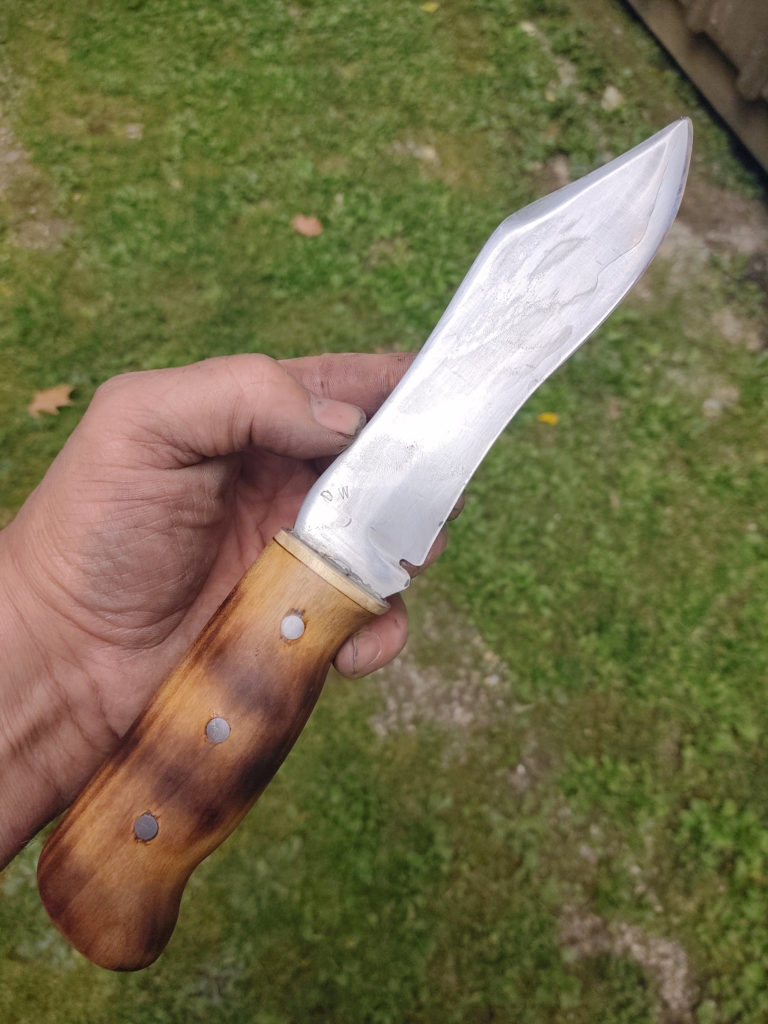
I soon determined it was starting to look like a hunting knife. Yes, I thought, a Bushcraft style hunting knife.
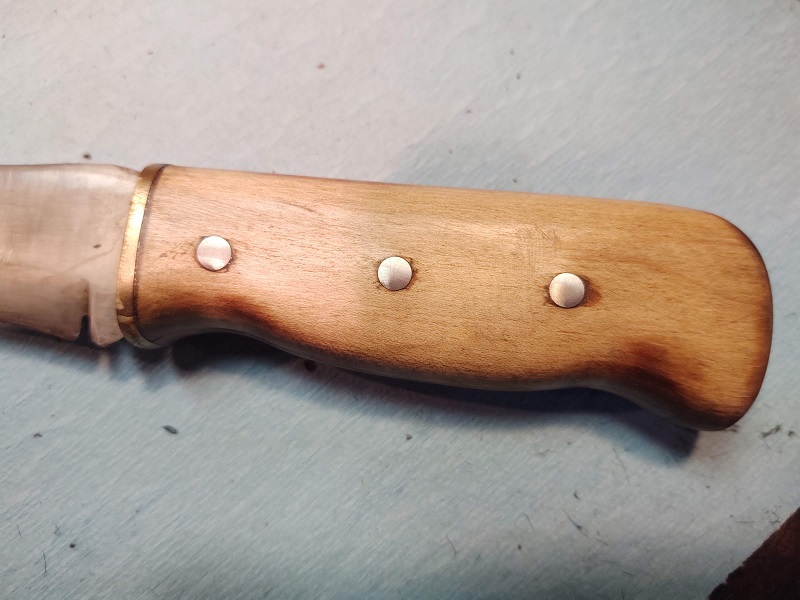
After getting the holes drilled and the knife heat treated, I made some hophornbeam scales and got them attached. What transformed was one of the ugliest example of knife work I’ve seen. So, into a pile of scrap it went.
Every once in a while, it would come out of the scrap pile for a test of a process. I tried doing some forced patina with coffee. I would save left over coffee in the morning and soaked the knife in it. That didn’t work. I guess my coffee wasn’t strong enough. It did stain the handle though. Lesson learned. Be careful of the handle when forcing patina.
I also soaked it in vinegar. I didn’t like the outcome. It was not very dark but very blotchy. It also stained the end of the handle. Lessons learned.
Sooner or later it dawned on me that I could turn the handle into one with a hidden tang. I dug up an old wood chisel and commence to removing the handle. This is where I discovered how hard it would be for a handle to separate. It came off in little pieces. After cutting the brass pins flush, I still had to beat them out with a punch.
Rather than risk ruining the temper buy trying to burn the tang into the handle, I decided on a two piece. This worked out fairly well buy simply marking out the two scales and using a chisel to carve out the tang on both sides. As an afterthought, I could have gone with a framed tang as well. The framed tang would probably have looked better.

And yet, it still did not look very good. I just didn’t like it so it
again, sat on the bench until motivation struck again. This time I decided to
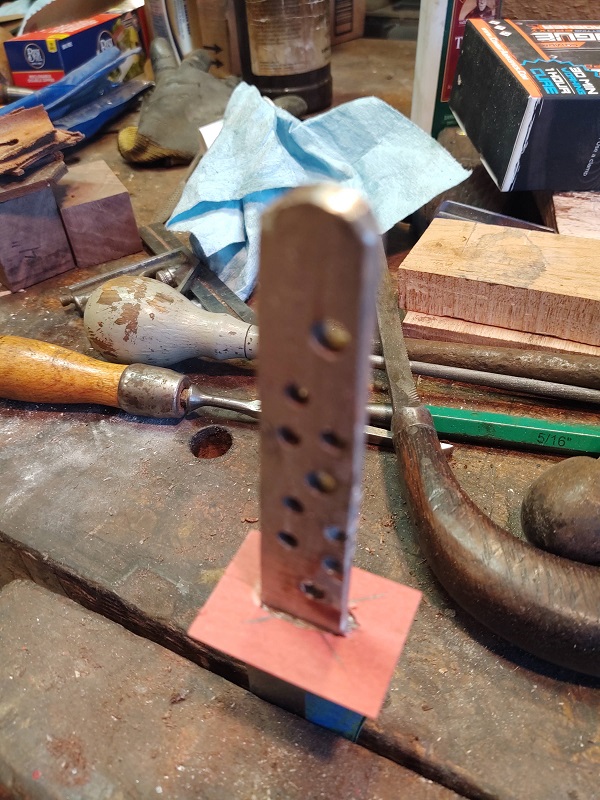
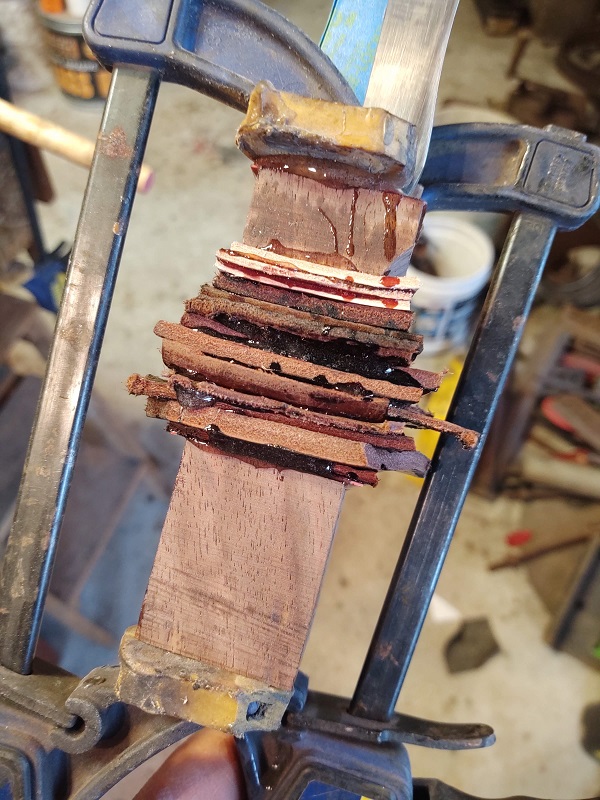
build up a handle. I went to the leather scrap box, cut some squares, punched
the center holes for the tang. I dug up some mahogany and drilled for the tang
for a front and bit piece. I epoxied them together and clamped them right.


I’m not sure the story has ended for this knife.
________________
As an Amazon associate, we earn income from qualifying purchases when you click on a link. Your link clicks help us fund our website.________________