
Not all knife makers make their own Leather Knife Sheath. Some farm out the leather work to leather professionals. Since I like to keep as much of the craftsmanship work for myself, I have chosen to make a leather knife sheath for each of my knives that need one. What follows are some ways I have experimented when I Make a leather knife sheath. I will try to explain the task as best as I can, and as I have elsewhere, I will try to mention my mistakes, so you don’t have to make the same mistakes.
There are many ways to perform the task needed to make a leather knife sheath, so you’ll eventually find your own style.
I’m using 7-9 oz Full Grain Veggie Tanned Double Shoulder leather. (along with occasion recycled leather)
Lets Make A Leather Knife Sheath
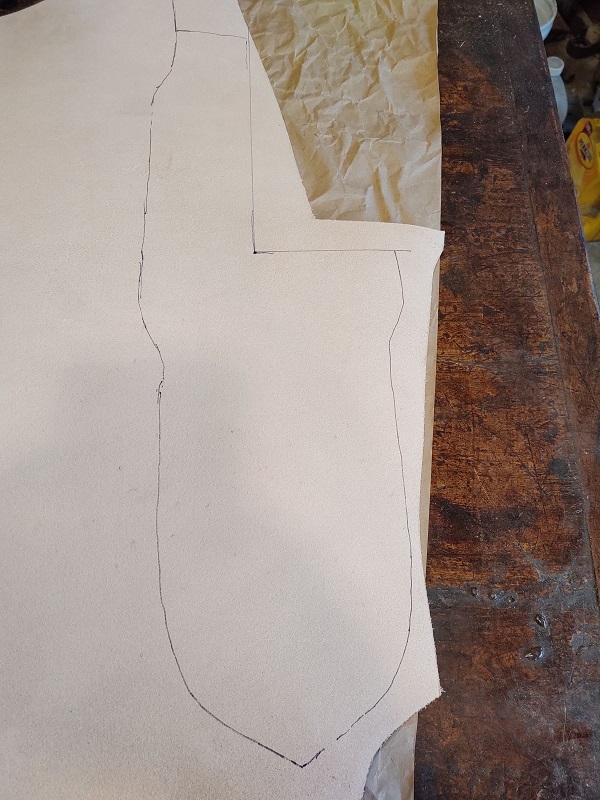
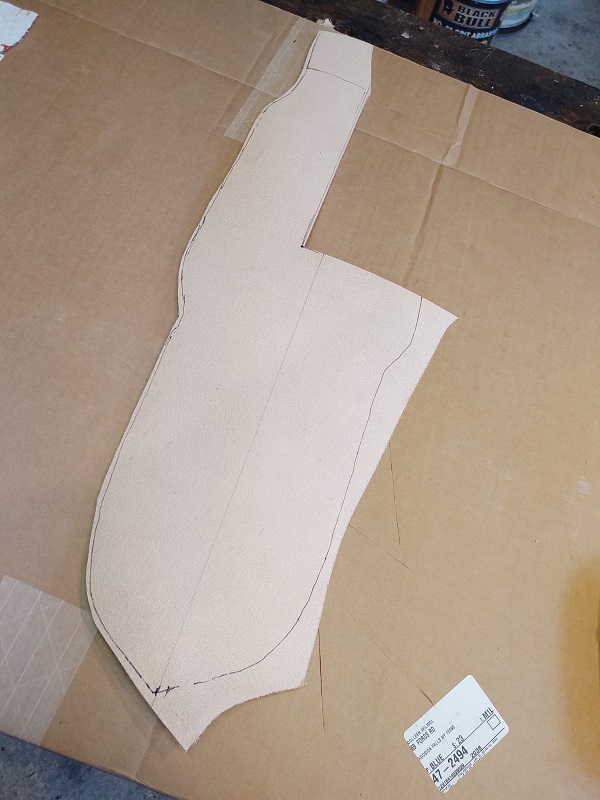
One of the hardest parts of making a Leather Knife Sheath is getting the template made. Once you have a template, the rest is just a matter of process. Always stop and think through your process. Think what will be sown and when. It’s a bit of a problem when you realize you’ve sown the length of the sheath and forgot to sow the belt loop that is halfway down the tube.
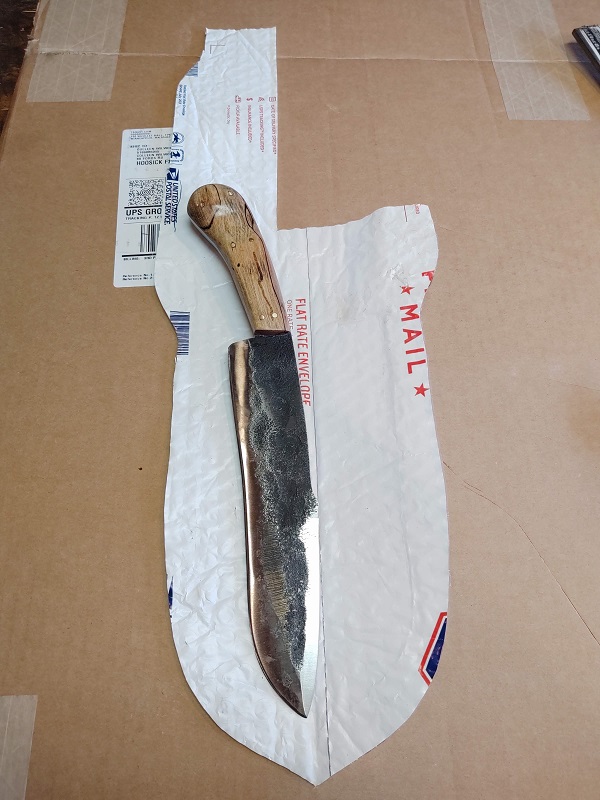
With some knives and sheath designs I find it just as easy to lay the knife on the leather and draw it out. It also depends on how many sheaths you need for the same size and style knife. If you’re only making one, a template may not be required. The most important thing to remember is the leather needs to wrap the knife, with enough room for the welt.
It’s here I made a lot of mistakes at first. If you are doing the style with a belt loop, pay attention to whether you want it worn on the left side or the right side and make sure the inside of the leather will end up on the inside.
You can cut the leather with any good sharp knife. I typically use a utility knife but plan to make a knife for leather.
To help make a sharper fold, I’ve found cutting three grooves up the center of the fold helps. The center cut is made with two passes of the cutter and the two outside cuts are a single pass making the center just a little deeper. I use a straight edge to help keep the lines nice and straight and parallel to each other.
For the cutter I used a v groove carving chisel until i got the stitch groover.

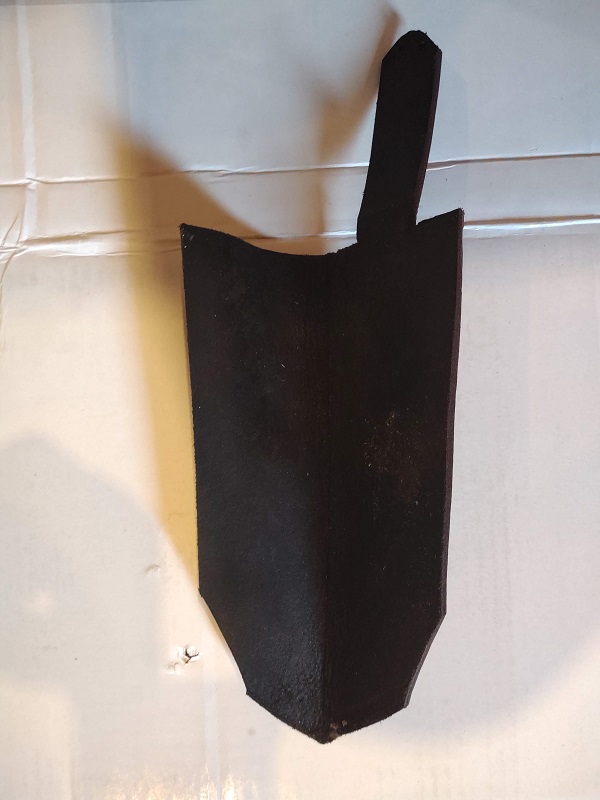
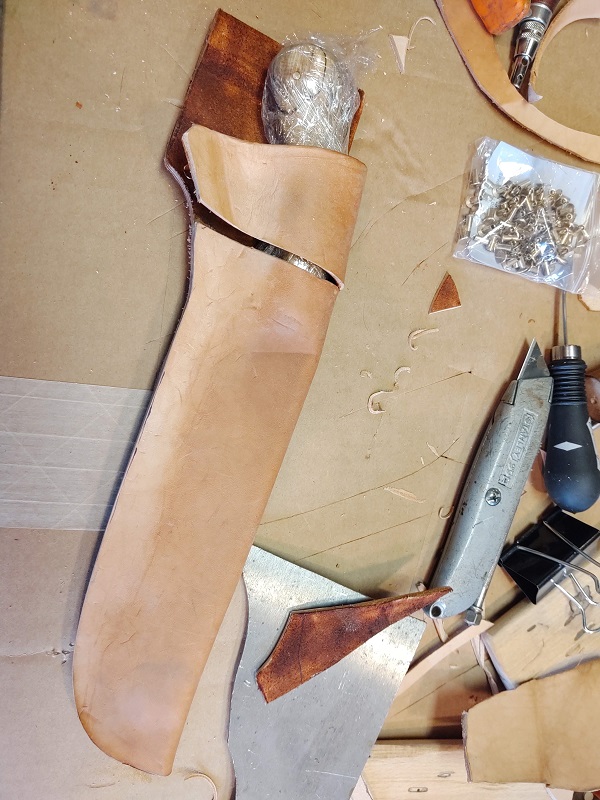
To form the leather to the knife (which is an optional step) you need to wet the leather. It doesn’t matter how you wet it, dip it in a bucket, paint some water on, run it under the faucet. It just needs to be wet. It doesn’t need to soak for any length of time. This is another optional step but helps especially on heavier leather.
Wrap the knife in plastic wrap to protect it from getting wet (another option is use a wooden replica if you happened to make one for the knife)
Not all sheaths wrap (or are folded) and you may decide to design it to have stitches on both edges. This makes getting to a pattern a little easier. Just mark the form with enough room to wrap and sew in a welt all the way around.
To form the leather wrap it around the knife. If it’s a simple design you can sometimes get the form simply by rubbing the form in with your fingers.
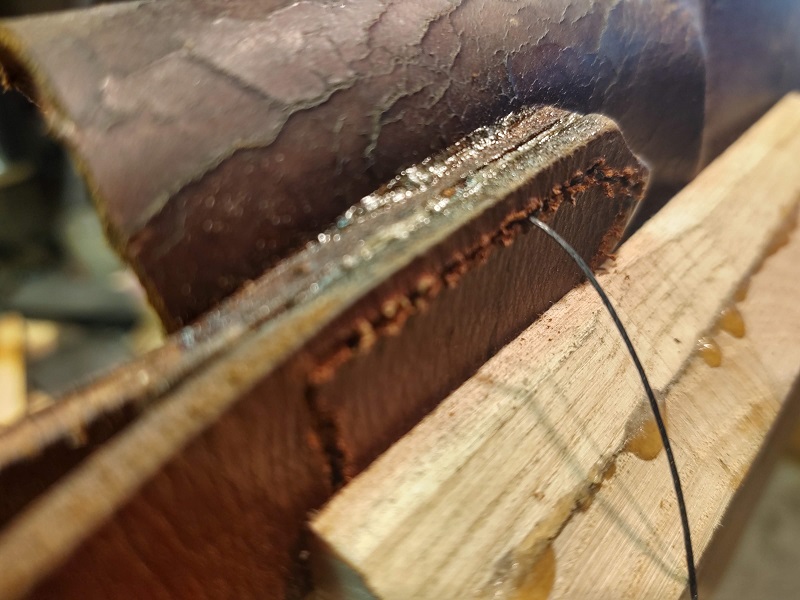
To get a more definite form, clamp it like I show in several of the images. Use scrap wood with eased corners or pieces of scrap leather to keep the clamps from forming an impression where they are clamped.
Eventually i found making a few block with nice eased corners all the way around helped when forming the leather.
At first I would leave them to dry overnight, but it doesn’t need to sit that long. It depends on how deep the impressions are, and the leather thickness, but even a few minutes is enough sometimes.

Next make the welt. This will help keep the knife from cutting the stitching. On a folded sheath the welt is typically only on the sharp side of the knife. It helps keep the edge from cutting the stitches.

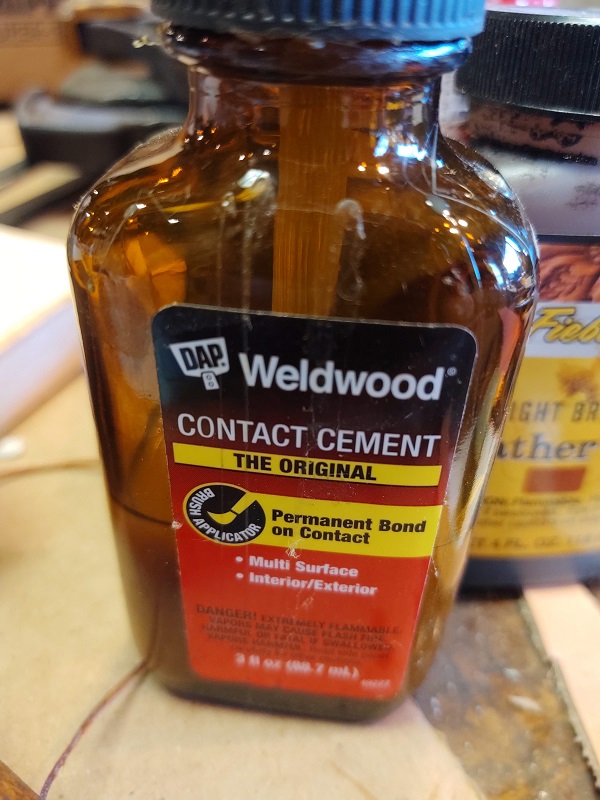
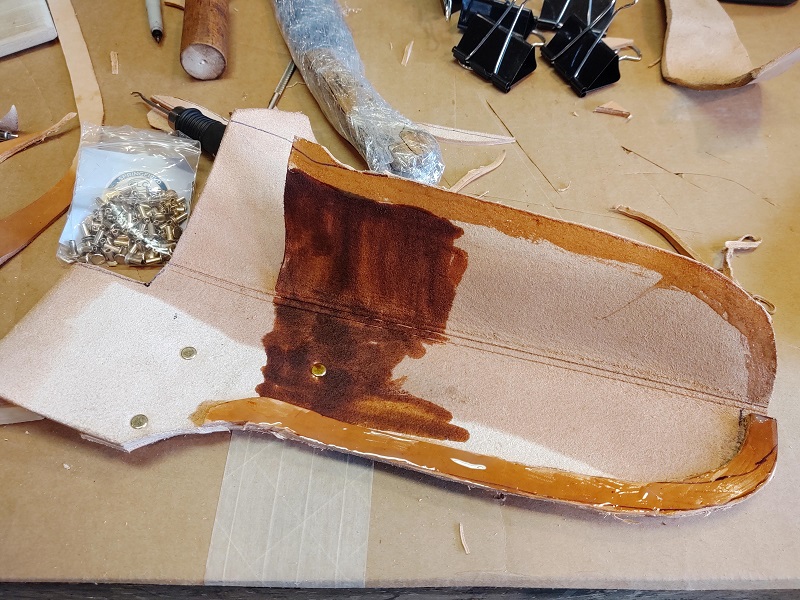
The next step will most likely be making and fastening the belt loop. I like to glue the pieces in place first. It helps the process. The best glue I’ve used is regular contact cement.
Next I will sew it in place.

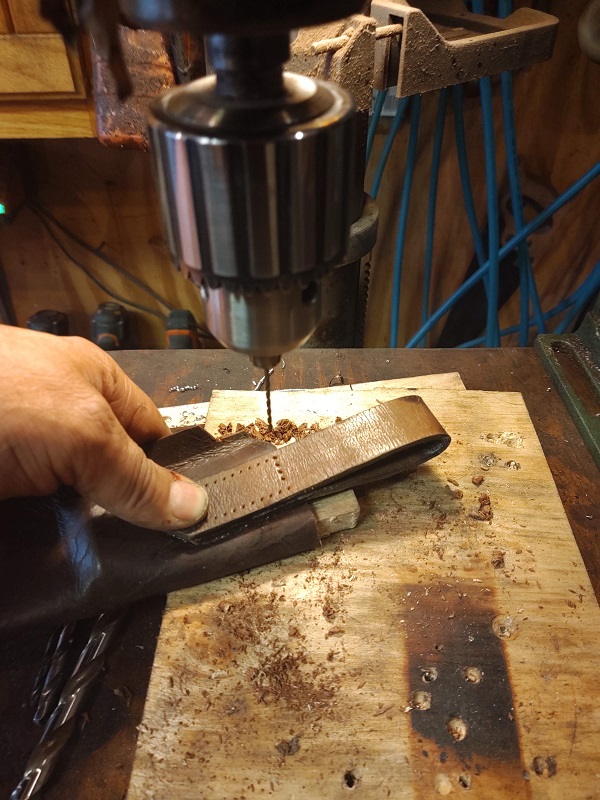
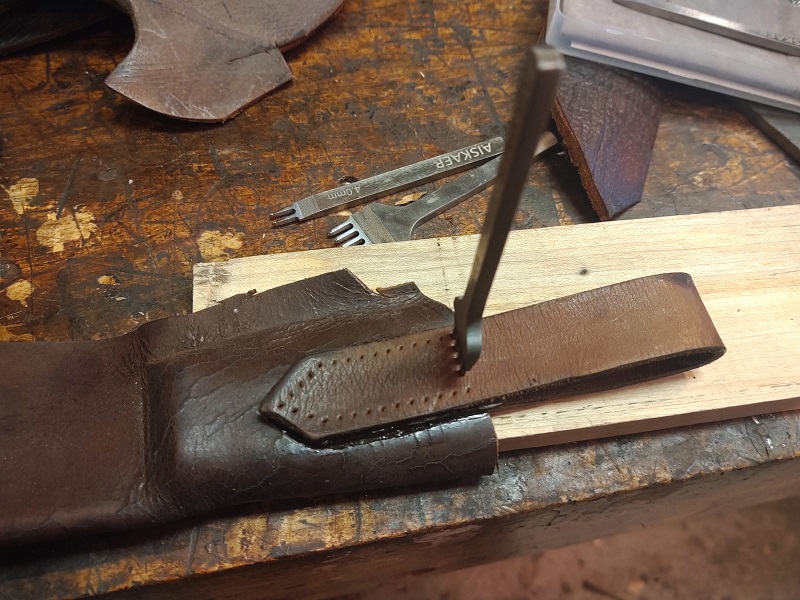
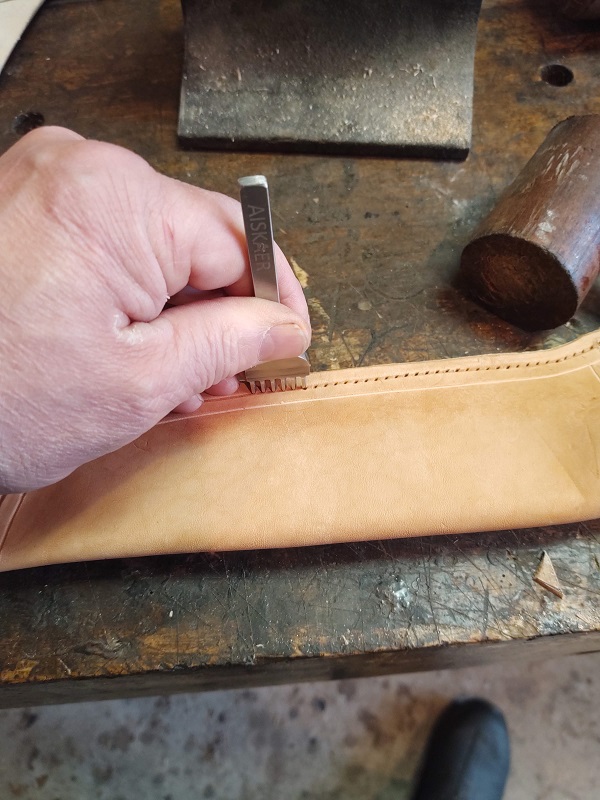
I’ve tried drilling and punching the holes. I still use both processes on occasion but I like punching the holes the best. I can’t give you a good reason why, so I suggest you try both way and see what works best for you.
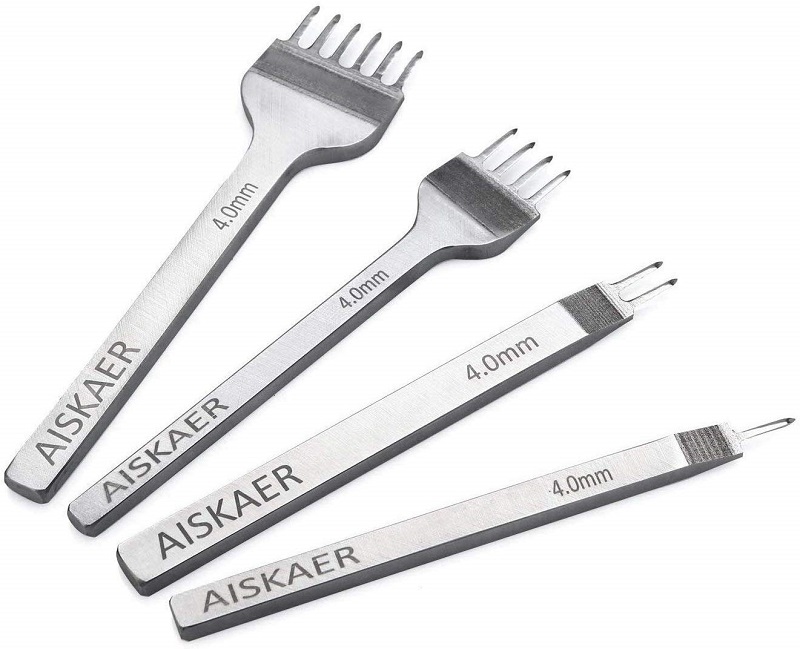
I have the set above. It allows punching 1, 2, 4 and 6 holes at once. It works well if the leather is not to thick. With the 7-9 oz. I normally use they work well if it’s simply two layers.
If the leather is thicker, I will also punch with a leather awl.
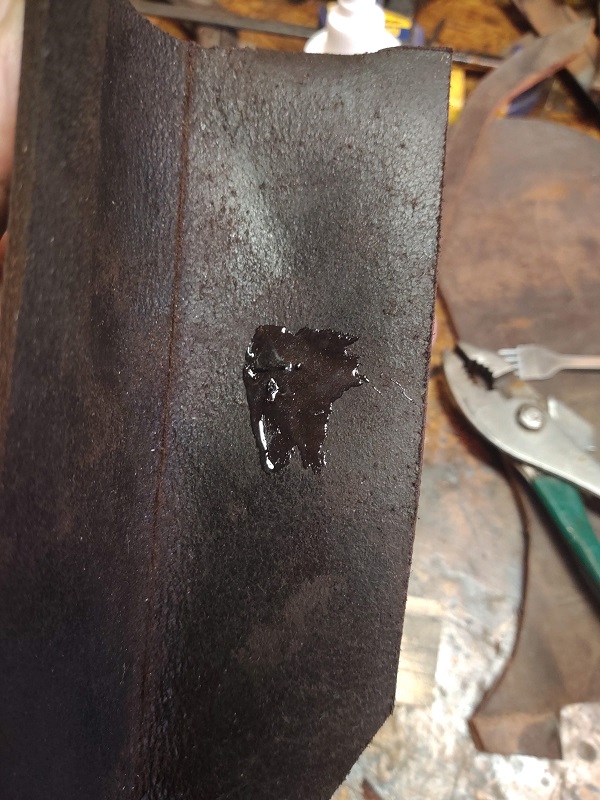
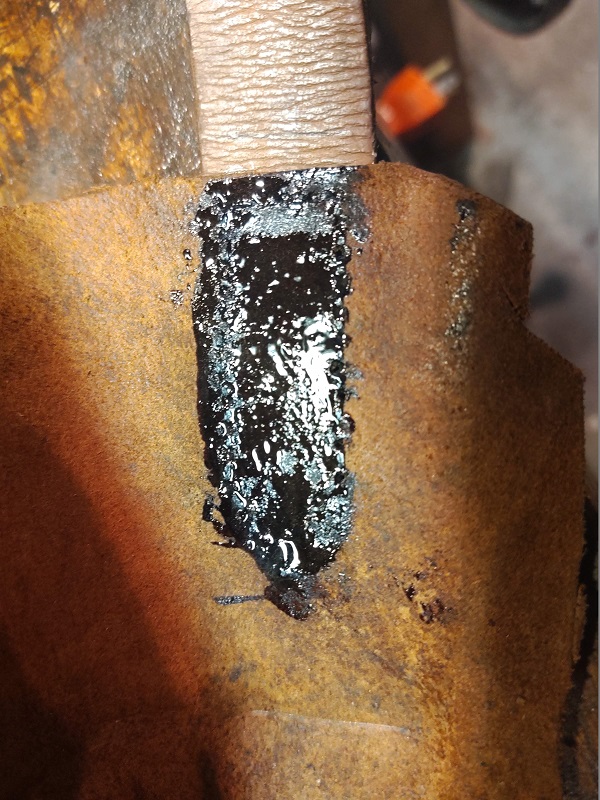
Some leather crafters recommend adding a layer of epoxy over the inside stitching to prevent wear from the knife sliding in and out of the sheath and wearing through the thread.
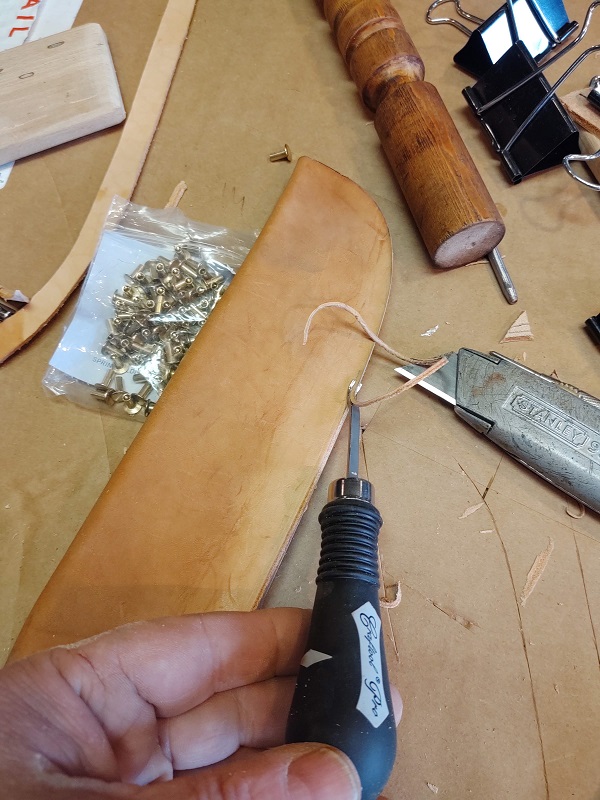
Another possibility to avoid wearing out the stitches inside is to use rivets either in addition to the stitches or just with rivets alone.

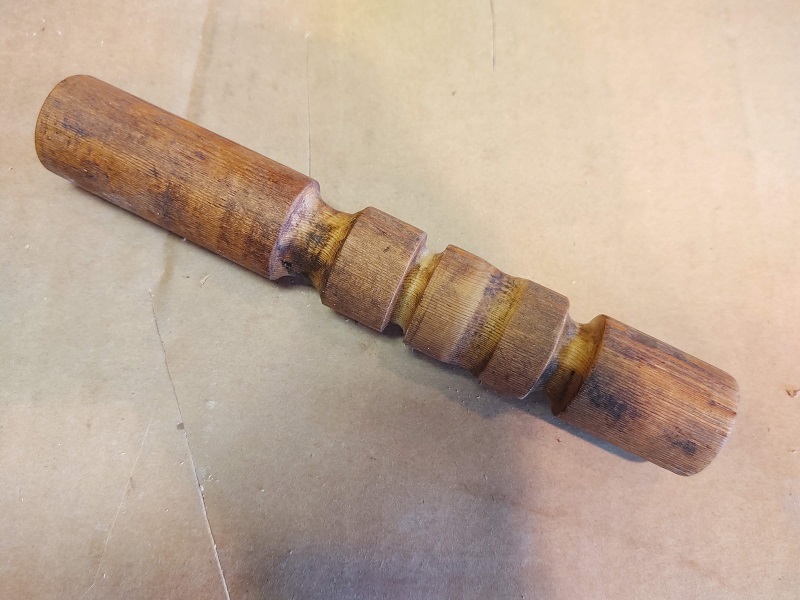
Before adhering the pieces together, you will want to round over the edges of the exposed leather using a burnisher. I use one I made from a dowel. You can decide if you’d like to make one or simply buy one. There are many different kinds to choose from.
Along with the burnisher an edger is really nice to have. An edger is used to cut the corners off the edge to form a radius edge. It helps give a rounded and finished look.
You will glue the welt in one side at a time. Once it is glued you can even up the edge on the grinder. Start with a course grit and follow through to finer grits. There are differences of opinions on how high a grit you need to go. The higher the grit, the less need to burnish or the easier it is to burnish to a finish.


Using a stitching groover you can cut a grove over the stitch line. This allows the thread to sit slightly below the surface. This helps on wear when being rubbed against other surfaces.
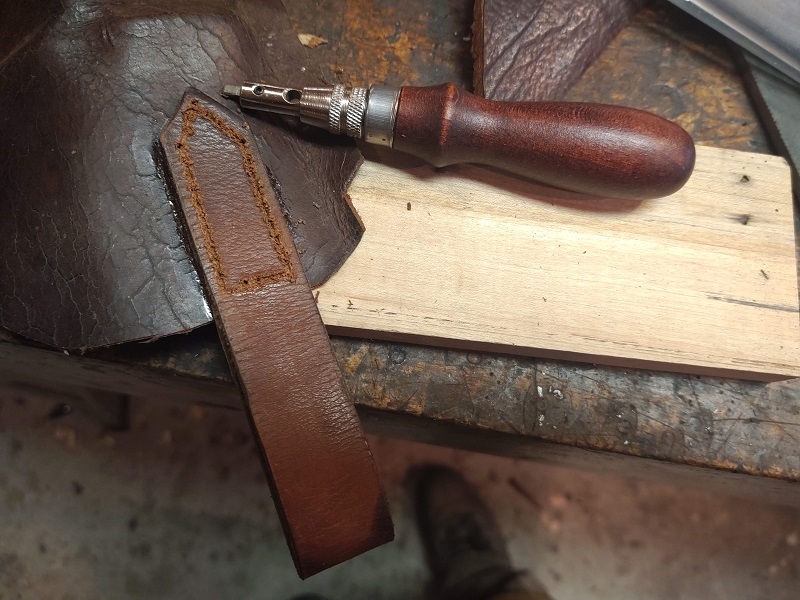
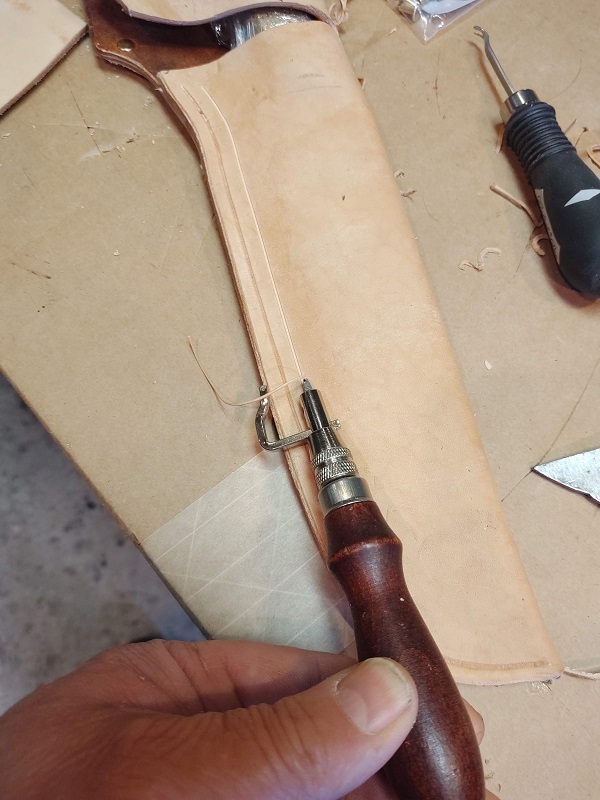
The Stitch groover can be used to cut the welt line stitch as well as adding some extra groove lines for embellishments.
Now stitch the welt line. When cutting your thread, you will want about 4 or 5 times the length to be sown.
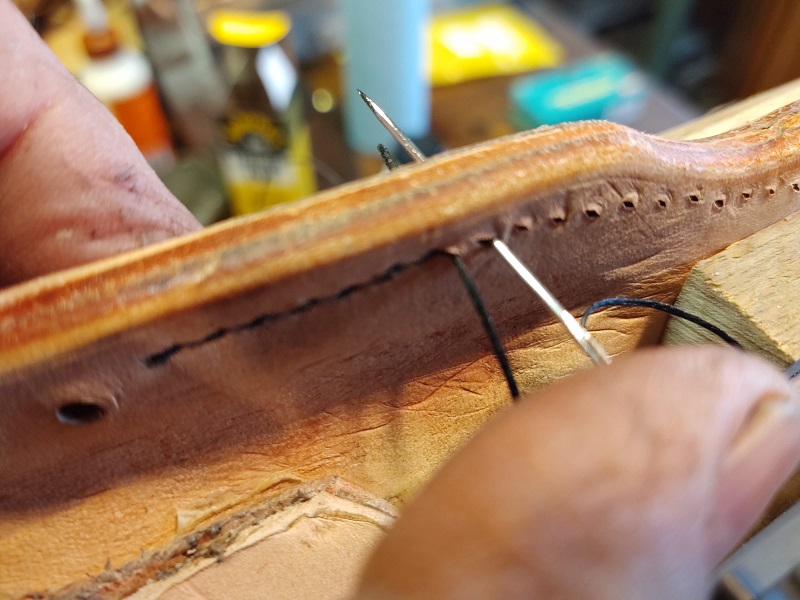
I use a saddle stitch.
Start by threading one of the needles through the hole closest to you. Pull the needle through and make both sides equal length. (picture)
Now each needle goes through the next hole, one at a time, pushing through from the same side the thread is on (in other words, do not cross over the edge).
A tip, as you push the first needle through, using a circular motion, work the needle around to enlarge the hole to help make room for the other needle.

Now snug the thread tight. You want them tight enough to pull the thread into the leather.
As you pull the first needle through, pull the thread toward you so it’s behind the needle coming through from the opposite direction. This pulling action also helps open the hole for easy passage through.
When you get to the last hole you are going to back stitch at least three or four holes.

I will often use a small chunk of wood to help push the needle through, especially when back stitching. A pair of pliers can assist as well pull the needles through. I lined a pair of electrician’s pliers’ jaws with leather (epoxied them one) to help with this task.
While you can absolutely sew and hold the leather with your hands, I’ve found that it’s easiest to place the leather into a stitching pony. I made my stitching pony to clamp in a vise on my bench, but there are different versions you can find that you hold between your legs.
To complete the process, burn the thread ends and allow them to melt to form a bond.
To dye the sheath, I typically wipe on a couple of coats of light brown dye. Wiping the center with a damp cloth will give a faded look. Then after stitching I go around the edges with dark brown.

In this next photo I am going to darken the outside edges of the Leather Knife Sheath. First coat is with a dark brown dye.

Next coat will be with a light brown dye on this Leather Knife Sheath. The light brown goes over top the dark. The another coat of dark will be added to the edge. This gives a blended look.
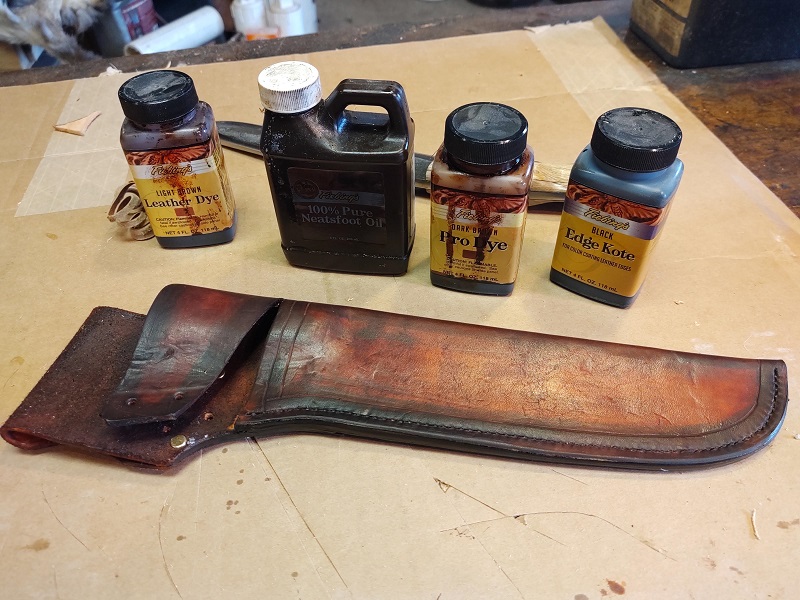
I sometimes wipe on edge coat on the stitched edge and burnish again. This shines the edge up nice. Sometimes I just burnish the edges for a more satin look.

There are completed sheaths on each knife I’ve made, so you can see additional styles I’ve made. I learn something new almost every new knife I make and every new Leather Knife Sheath I make. It really is the fun part of this hobby.
________________
As an Amazon associate, we earn income from qualifying purchases when you click on a link. Your link clicks help us fund our website.________________