

Heat treatment for beginners.
One thing I discovered is heat treatment for beginners doesn’t have to be as complicated as it seems. Follow a few easy steps and you’ll be ok, but keep researching and learning. There is a lot to it when you get into different kinds of steel.
A lot of beginners, including me, wants to start out making stuff out of old metal we find. We have the mentality of the woodworking prototypes we make out of cheap softer wood. However steel is a different animal.
I recommend you start with a known piece of steel. My research led me to 1080 steel. 1080 is well respected traditionally used steel for high carbon knives. It makes exceptional knives, and it’s a bit forgiving when it comes to heat treating. It fairly inexpensive as well.
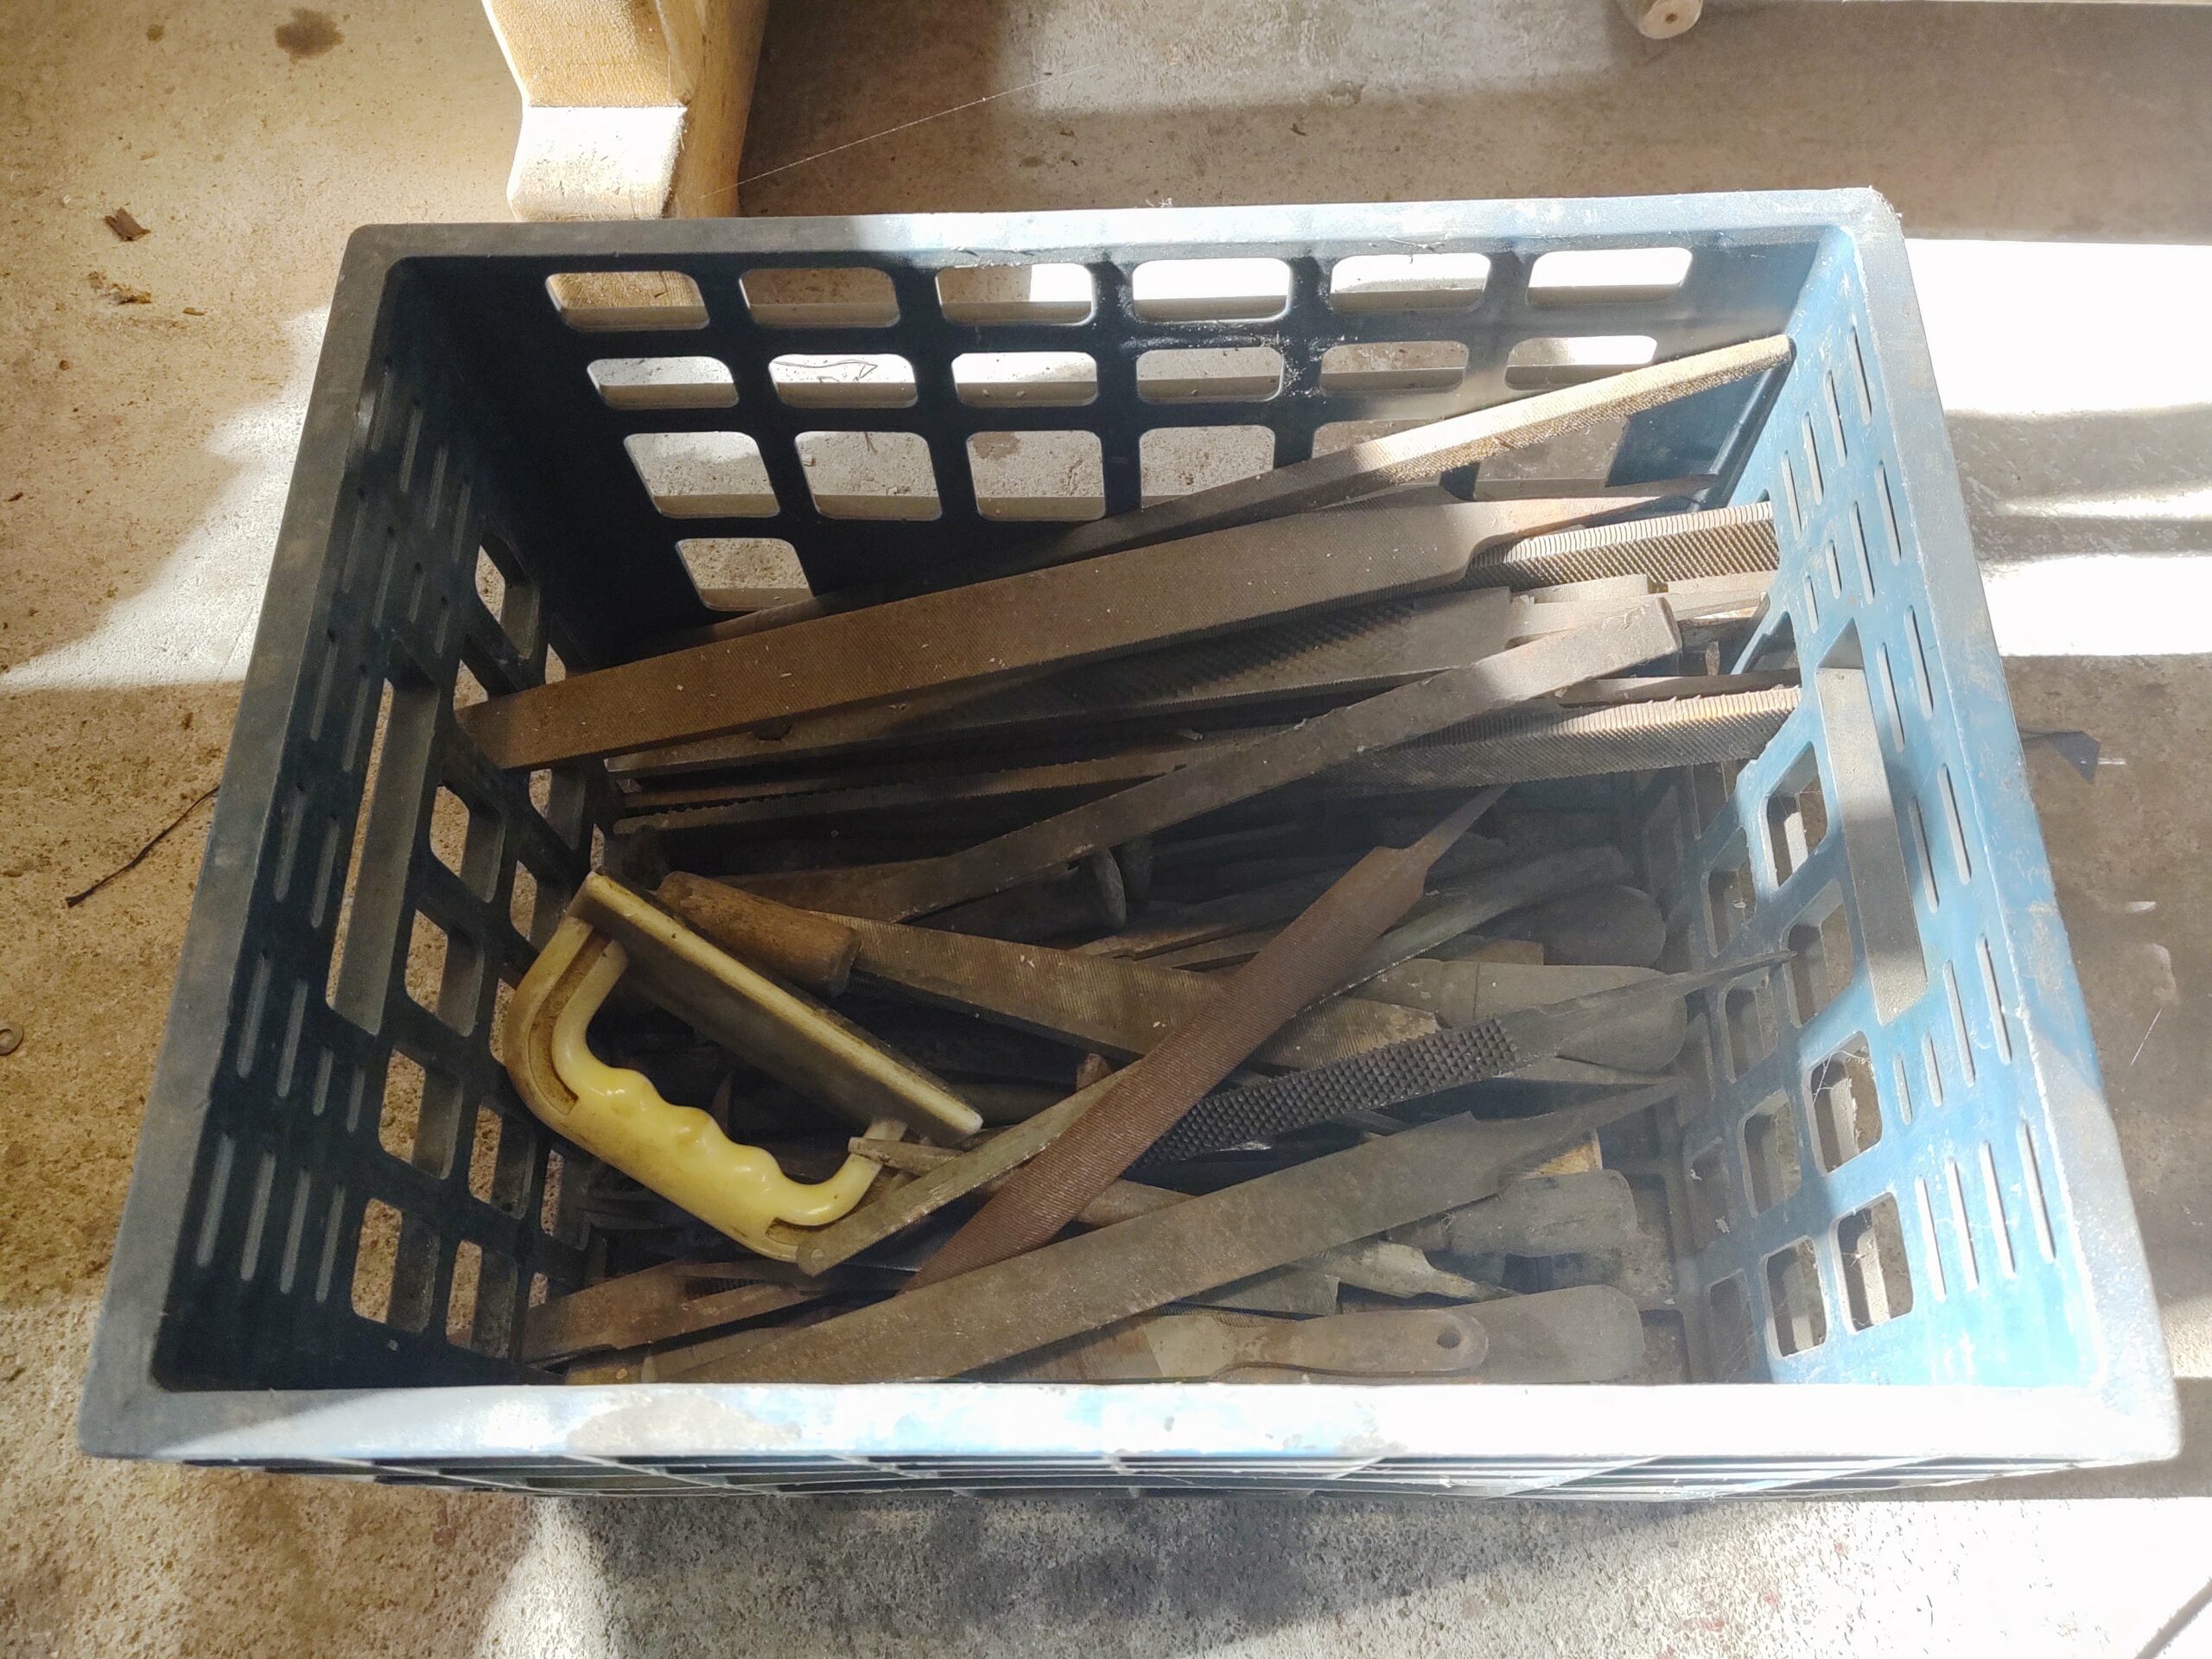
You can then move on to old files and spring steel if you want. I’ve used this heat treatment for old files and it works well, assuming they are annealed for shaping.
You’ll obviously need something to heat your steel. Typically a forge is used unless you’ve been fortunate enough to have a heat treating oven. If you have a heat treating oven you can stop reading this. Otherwise, read on.
Heat-treating ovens
From my research into heat-treating ovens, there are many differing opinions of how important a heat-treating oven really is. It seems to boil down to what you plan to build. If you will be building knives with stainless, and want to do your own heat treating, the overwhelming consensus is a heat-treating oven is required.
However, if you will only be using high carbon steel for your knives, it isn’t quit as important, assuming you have the heat-treating and tempering process down using a forge. After all, if the appropriate hardness is obtained, it doesn’t matter how you get there.
Getting ready
First make sure you’re ready. The knife is fully shaped with the exception of the edge. You want to leave a little thickness on the cutting edge. It should not be sharp.
-All holes are drilled.
-Touch mark added.
Another option for beginners is to send the projects out to have them heat treated. I sent my first batch of plane iron blades out, so there is no problem with that. There are many bladesmiths and professional blacksmiths who offer this service.
But heat treating a knife made of 1080 steel isn’t that difficult. Here is my technique that works for me.
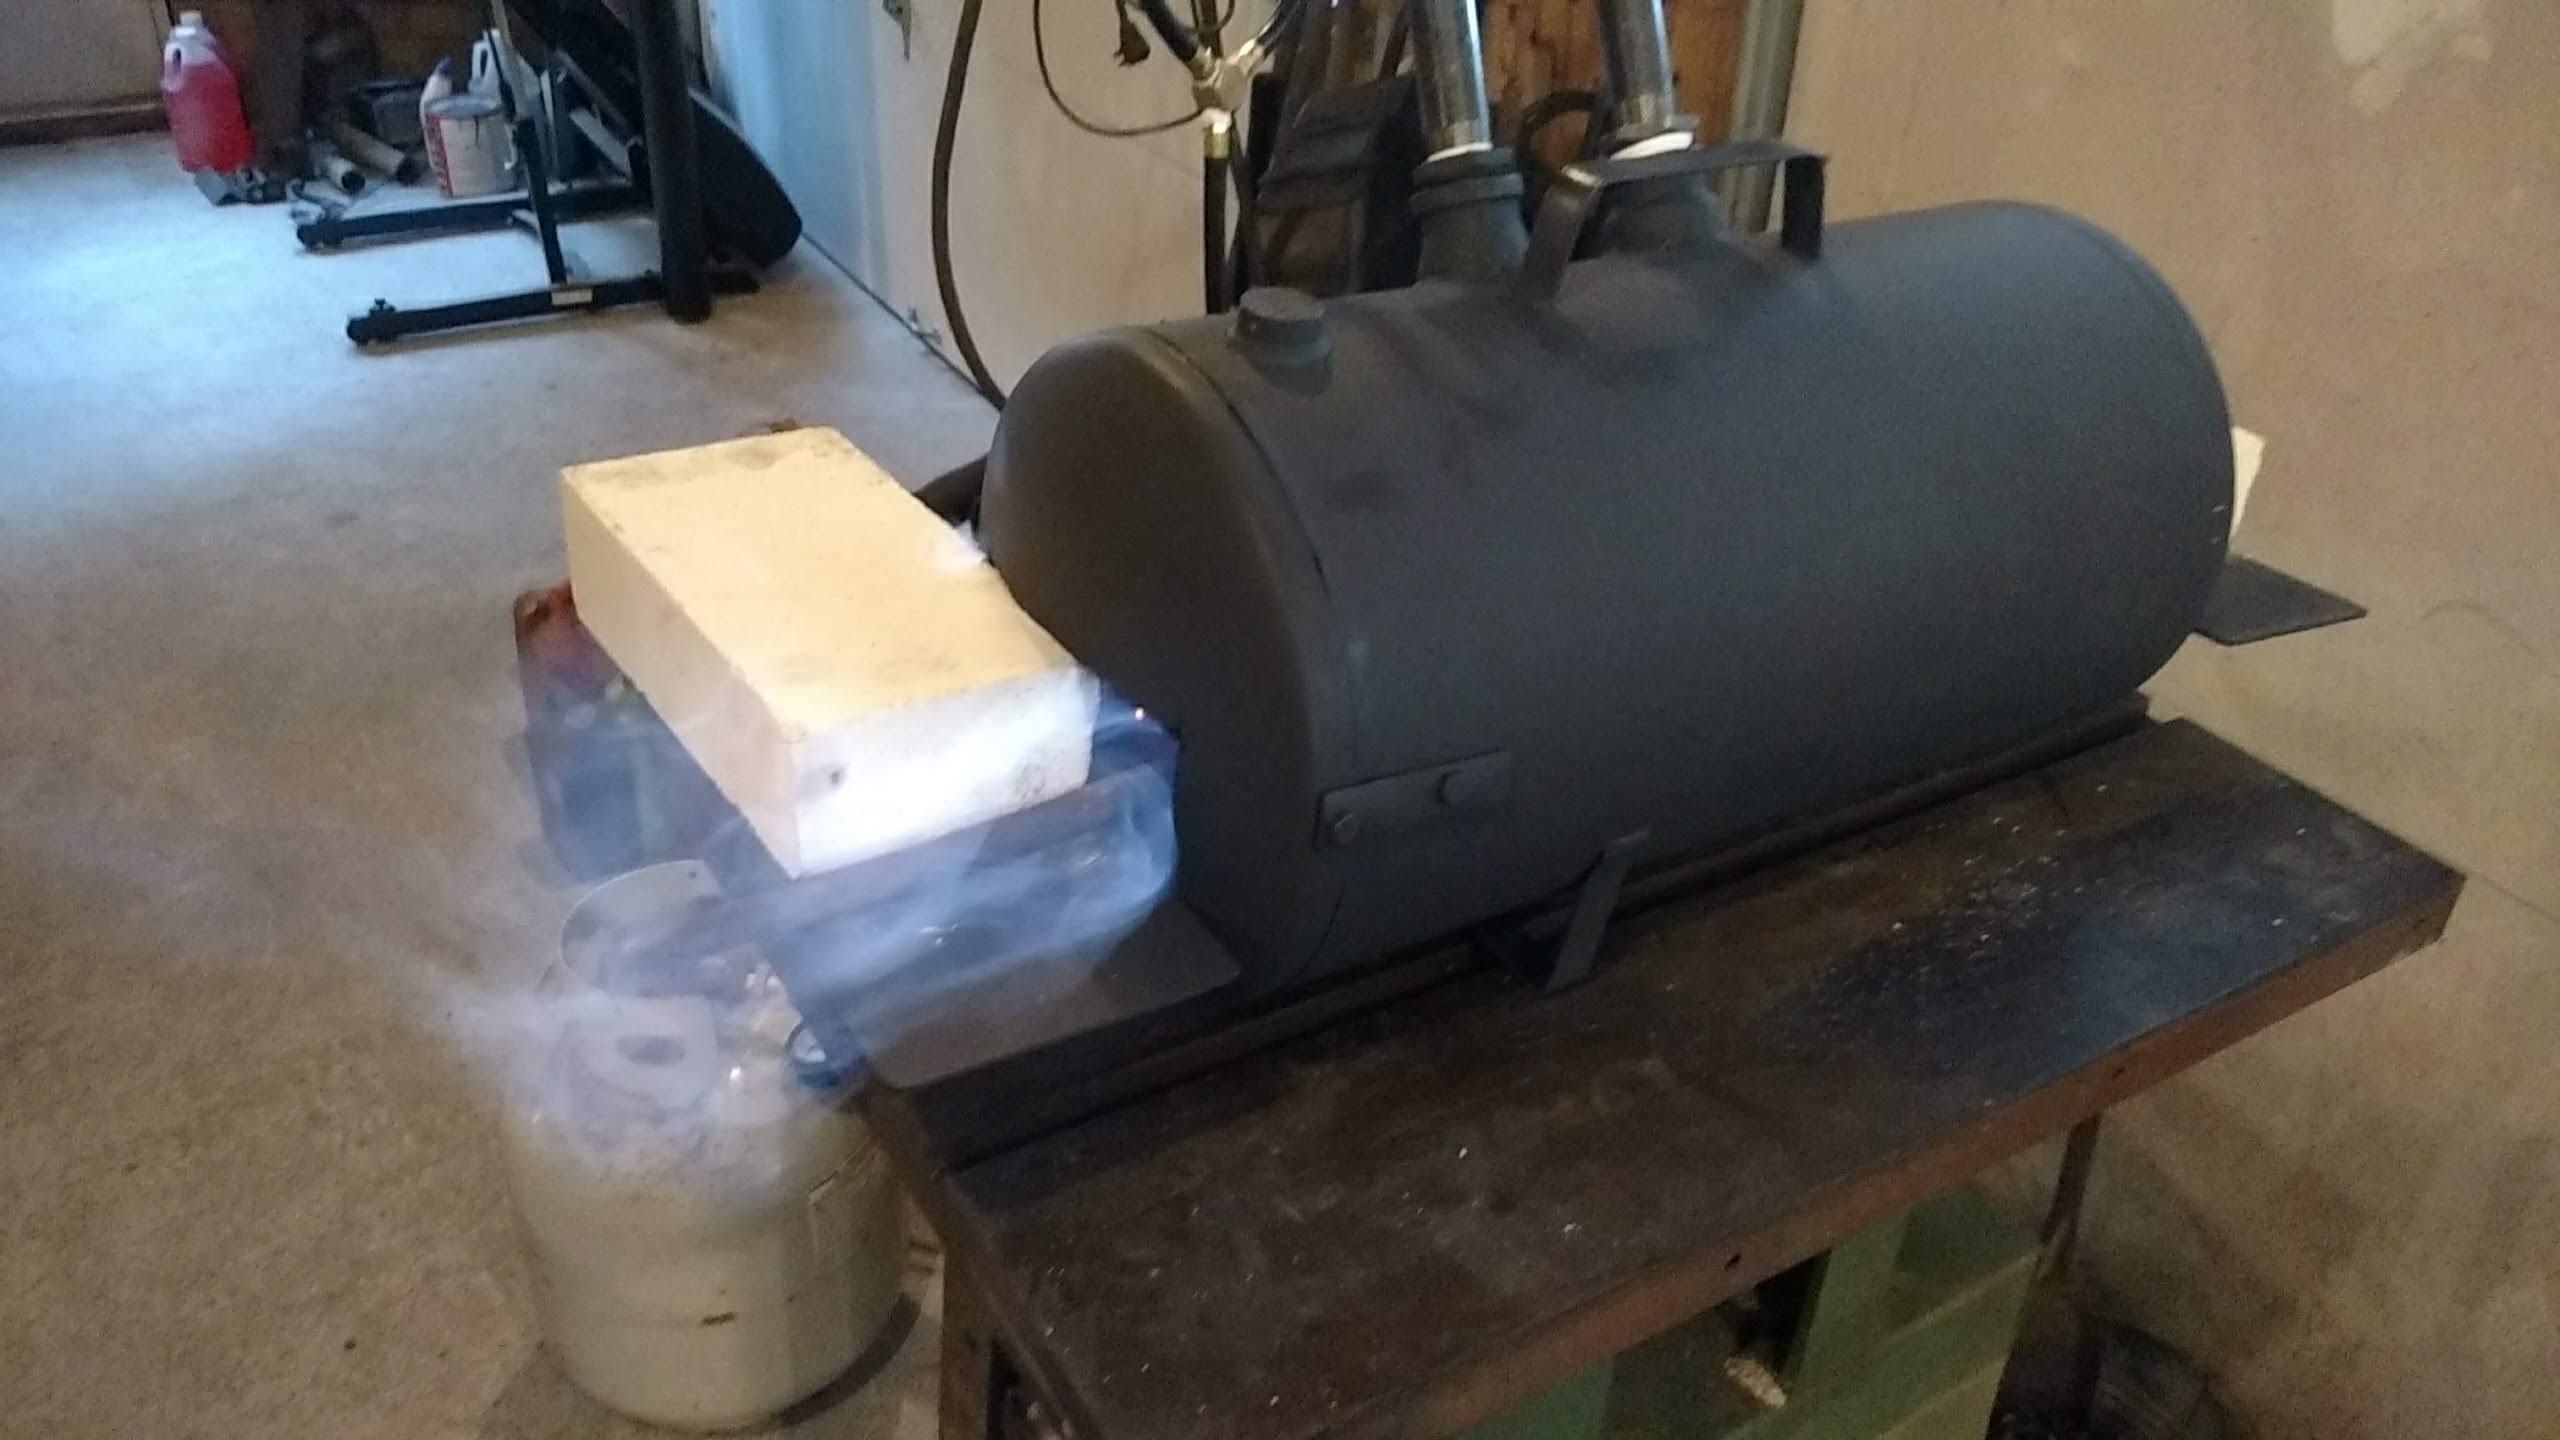
I use my propane forge, but any forge should do if it can heat to an even non magnetic heat. I’ve even heard of doing it with a camp fire, but I haven’t tried. I find the propane forge is easier to get a consistent and even heat, however if you have a little experience with a coal forge it can be used as well.
Heat the metal to non magnetic. I have a magnet stuck to the side of my forge frame. It’s easy to check. Once it’s non magnetic, heat for few seconds more and make sure the color is even throughout.

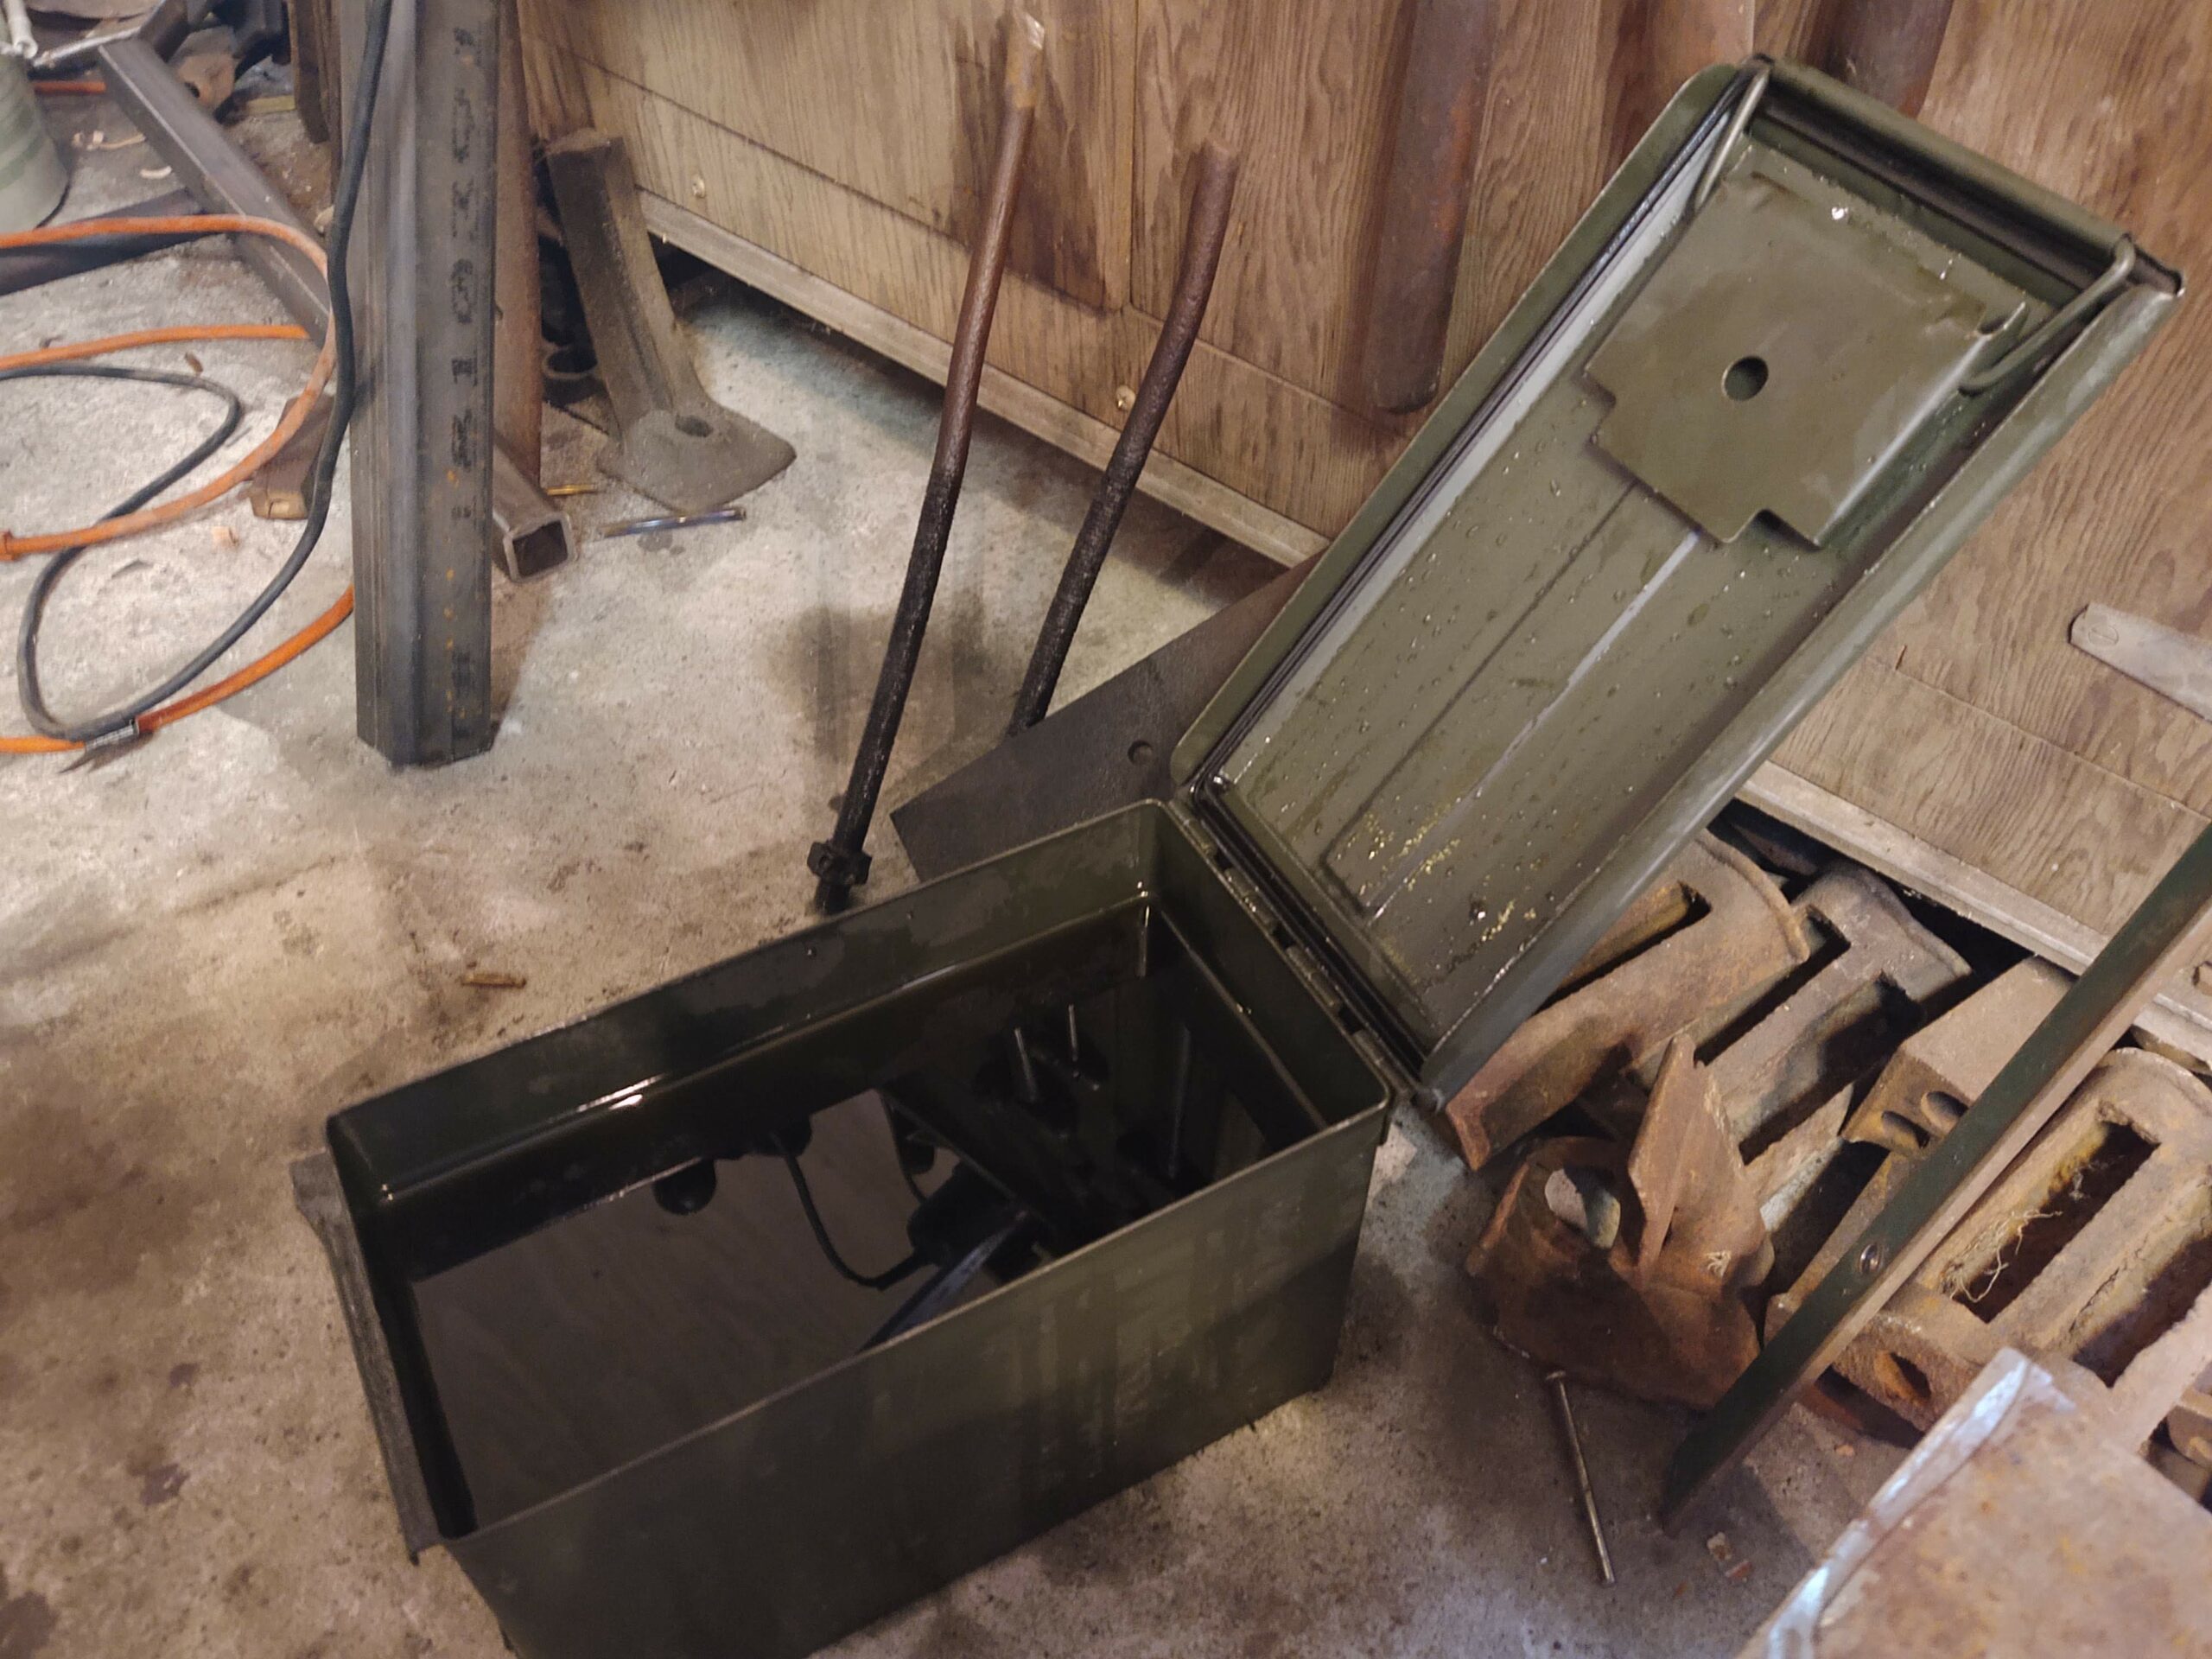
I then quench in Canola oil. I have the oil in a metal military bullet box. I quench only the blade (and on large knives only the edge for an inch or so) leaving the rest to have a little “give”.
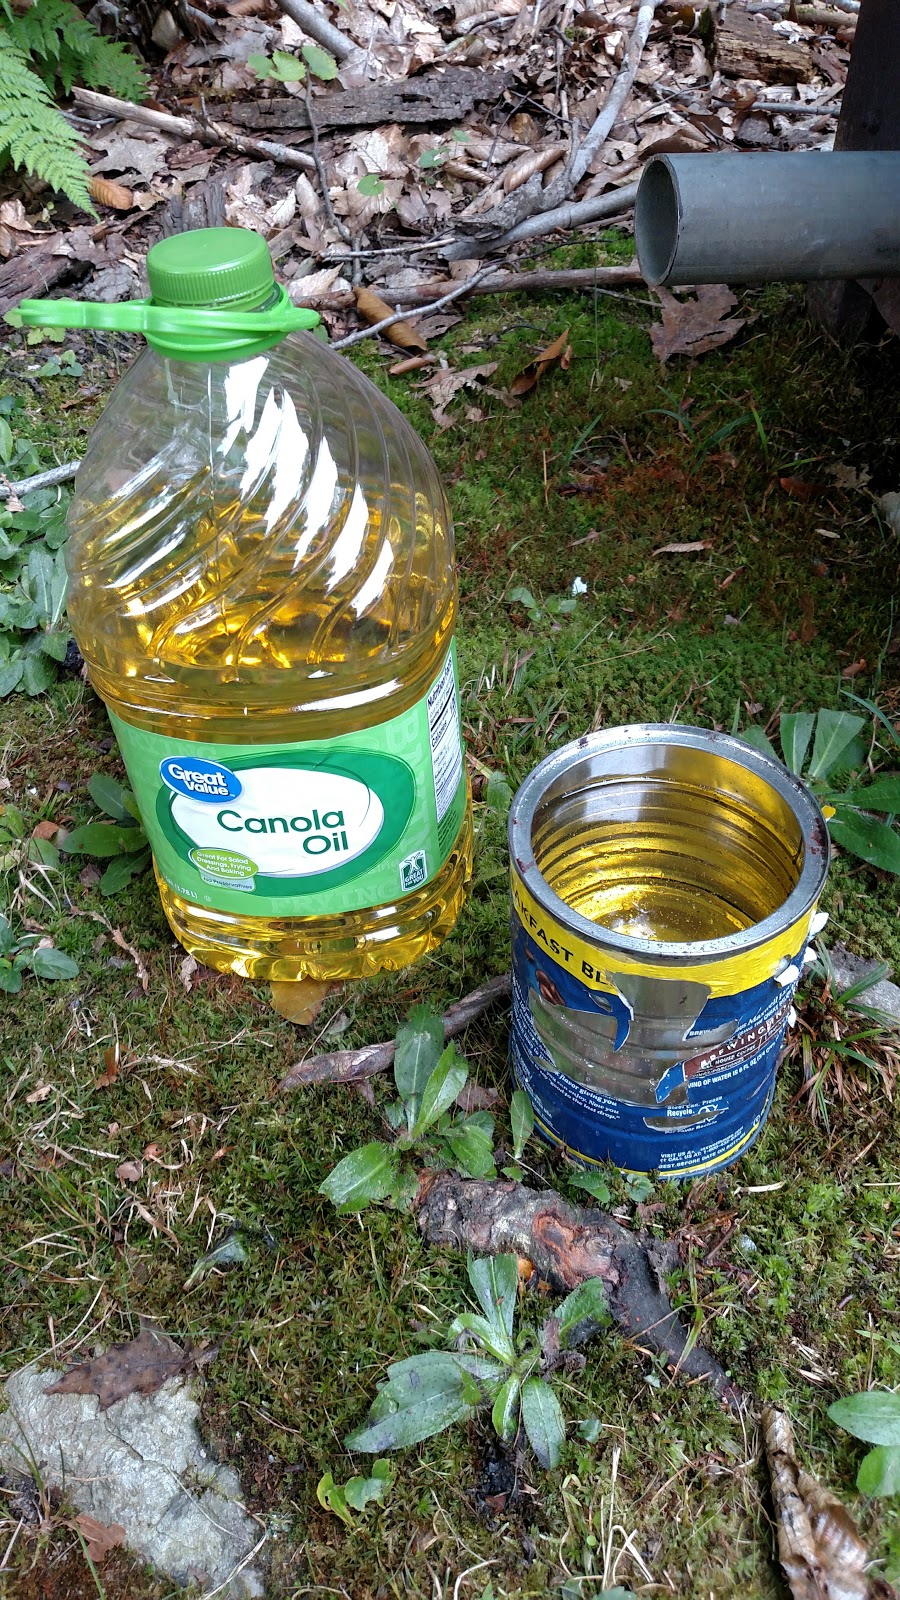
I preheat the oil by heating a piece of scrap steel cherry red and quenching it in the oil. This heats the oil which slows the cooling process of the knife blade.
Move the blade through the oil slowly like your cutting a path in it. I keep it moving for about a minute. Avoid a side to side movement. Cooling one side of the knife faster than the other will cause it to warp.
I then let it cool slowly at room temperature. At this point you’ll want to be careful. The knife is brittle and will break if you drop it or thump it against something to hard.
Now you need to temper it. Your kitchen oven will work, but I bought a $20+/- toaster oven so I could do this in my shop. It keeps the smell out of the house. Canola oil doesn’t smell bad, but it just easier and I don’t have to schedule the oven time with my wife.
I clean the knife up. I will do a little more sanding to get it back to looking decent and get all scales and gunk off it. This is just a clean up to keep the heat more even.
I do 2 cycles at 425 degrees for 2 hours each. When I started I did 3 cycles, but after some testing I think the twice is just about right. At the end of two hours (I set the timer on my phone so I don’t forget) I just turn the oven off and let everything cool back to room temperature each cycle.
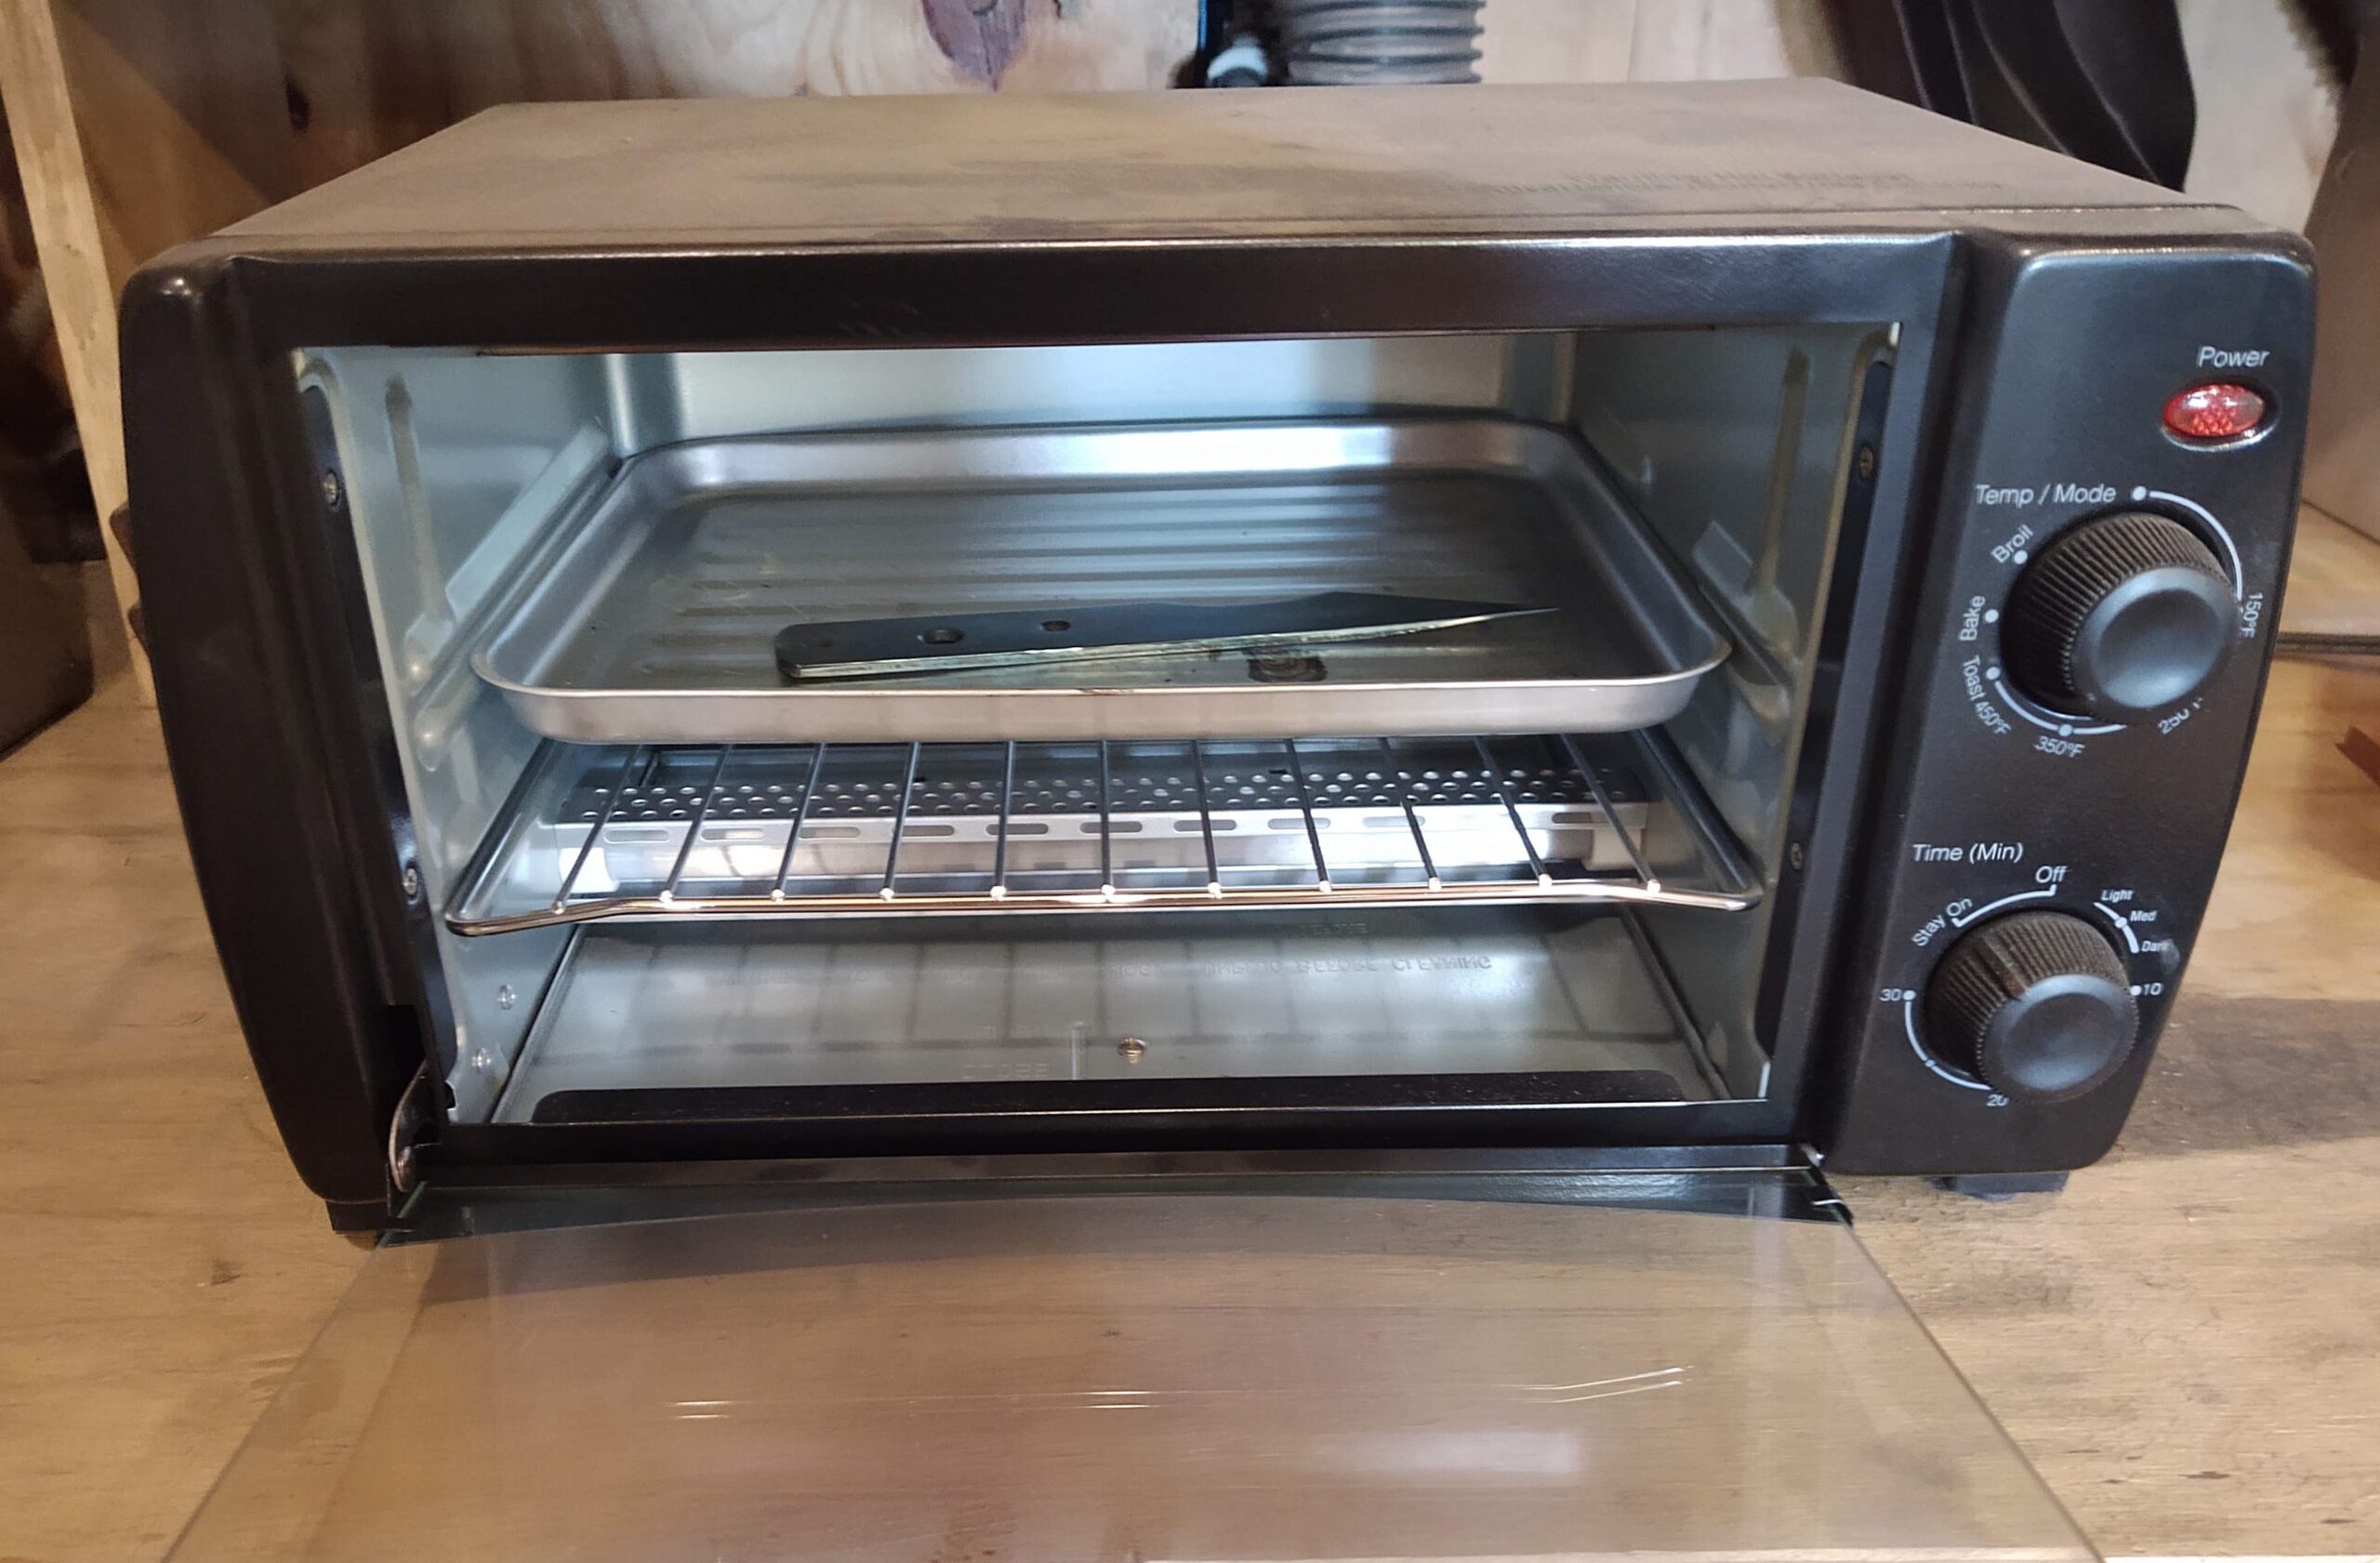
I’ve also never tried, but my research tells me leaving it to long doesn’t hurt, as long as the temperature never rises.
Now just finish beveling and sharpening the knife. That’s all there is to it.
For a deeper understanding here is additional recommended reading – Metallurgy of Steel for Bladesmiths & Others who Heat Treat and Forge Steel By John D. Verhoeven (2005)
________________
As an Amazon associate, we earn income from qualifying purchases when you click on a link. Your link clicks help us fund our website.________________
[…] It is quite thick and very heavy. It came out quite decent for a heavy knife. It would work as a knife for splitting kindling and other camp chores. Constant smacking with a mallet or chunk of firewood will not harm it. It still takes and hold an edge, so it will be a good edge tool. It was good practice. I used the same heat treatment as here. […]
[…] you are grinding after heat treating keep the knife cool buy dipping it in a bucket of […]
[…] thing of the day was Heat treating the […]
[…] More on tempering in the heat treating post […]
[…] of 1095. The shape of the piece of steel inspired the knife. I also wanted to try grinding after heat treating before I did it on a full-size cleaver like Knife 30 – Cleaver and Knife 35 – Serbian […]