
If you’re going to start into the journey of Blacksmithing and/or bladesmithing, think about the learning process. Start Simple and make a progression to harder challenges.
One of the first challenges I encountered making my first knives was getting a consistent bevel. To counter this, I made the bevel guide shown here.
But with the bevel guide I found I could get a decent bevel and bevel line, but it was still a challenge to get the starting point consistent side to side, even and looking good.
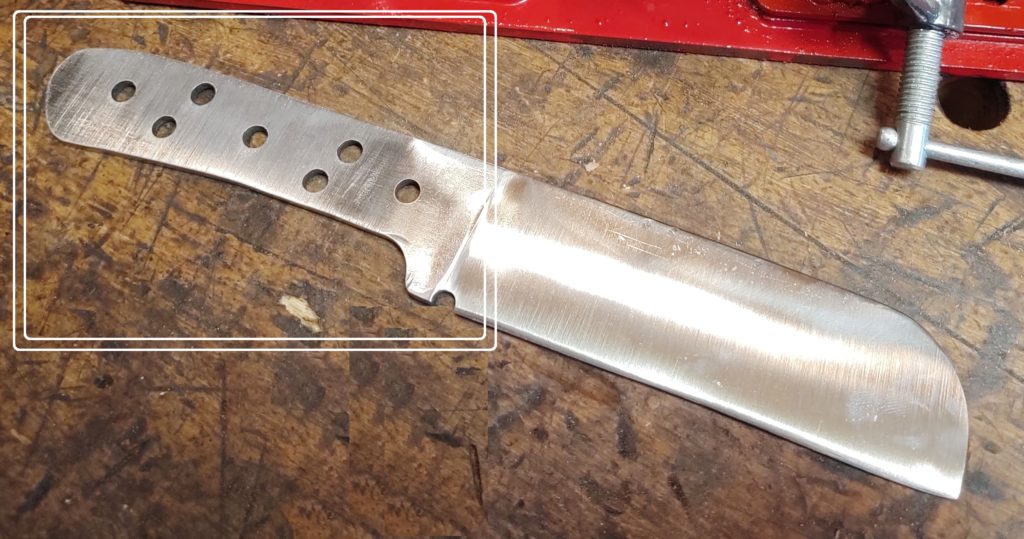
A little trial and error brought me to the conclusion I needed a starting point. So I made a few knife designs that didn’t have this challenge. This gave me a bit of confidence,
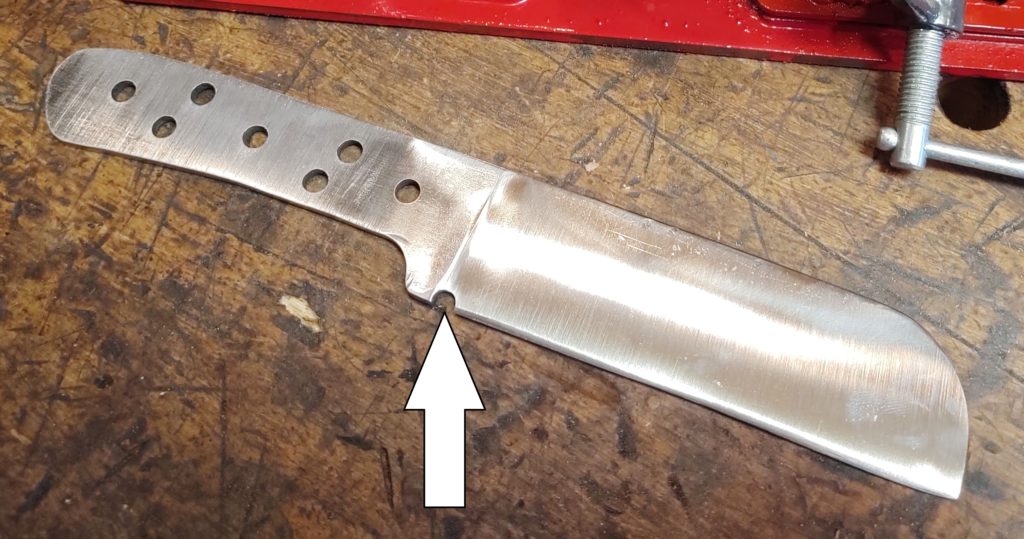
This design is a good design and simplified the process. I then moved on to making my knives with a sharpening choir. This helps make an obvious point of reference. I use the top dead center of the circle. Each stroke I tell myself to slow down and hit the mark. I’ve found this to be a tremendous help.
I file the sharpening choir with a chainsaw file. Find a chainsaw file the correct diameter for the choir you want and file it in. Then start your grind. I have even added one after to help clean up a line.
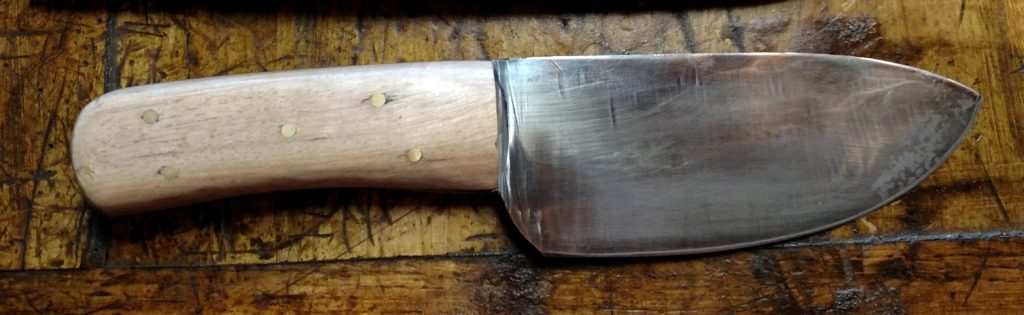
Next you’ll want to keep your handle simple. I choose a full tang with one piece scales. A nice piece of figured wood, or a piece with some sentimental value (from the oak tree your grandparents are buried under kind of thing) works great and makes a very nice knife.
Use a slow setting epoxy. You will want time when setting your scales and pins, and sometimes 5 minutes makes you hurry. Aside from the fact most slow setting epoxies are stronger, you’ll be thankful for the additional time.
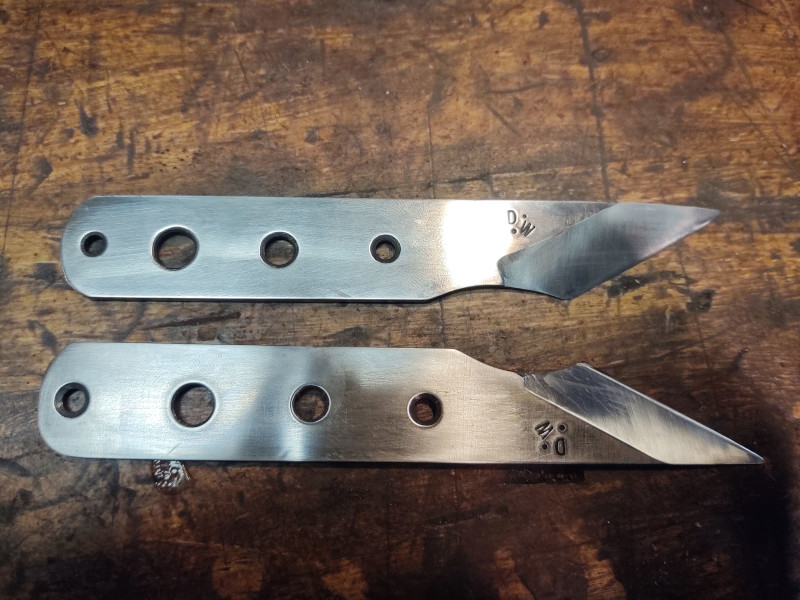
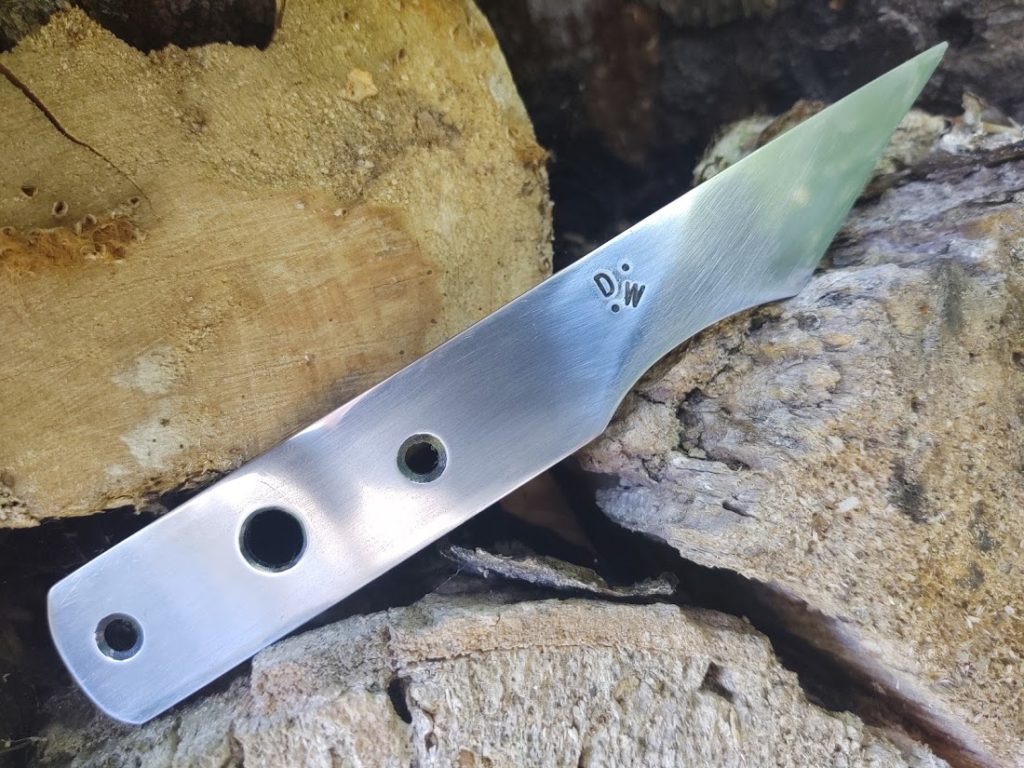
Another option is a knife like a kiridashi. For this you don’t even have to worry about scales. You can make these right and left handed or with a double bevel too. This one I made for a woodworker to use as a marking knife.
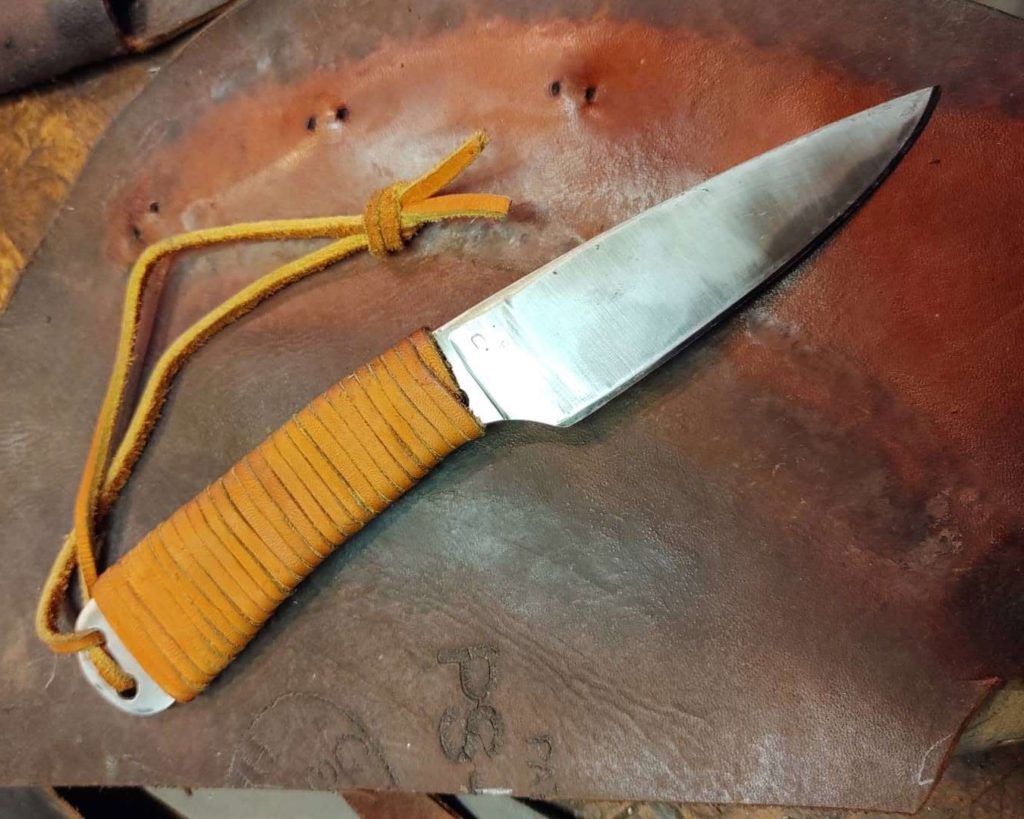
Or wrap the handle with Paracord or leather.
And one last piece of advice for this time, when you get close, finish by hand. At the start plan to do a little extra hand work. There is nothing worse than being almost done and slip on the belt grinder.
- ..
________________
As an Amazon associate, we earn income from qualifying purchases when you click on a link. Your link clicks help us fund our website.________________